Throughline

Product guidance

Help center

How Throughline works, guidance for viewers and founders, and step-by-step guides through the production line.

How it works

Develop the story, then take each episode through Generate, Edit and Ship.

  1. 1

    Develop the story

    A series starts as a premise, characters, a world and an episode plan; each episode gets beats, scenes and shots. Every stage is a document a founder approves, and nothing downstream runs on an unapproved plan.

  2. 2

    Generate

    One button generates every shot of an episode with the house preset. Readiness is derived from the approved plans and reference packs; anything still missing is listed in plain words instead of asked for as a form.

  3. 3

    Edit

    Keepers land on a timeline as a first cut. Founders reorder, trim, and add audio and captions; every save is a revision that can be restored, and two founders can work on one cut because the newer save wins.

  4. 4

    Ship

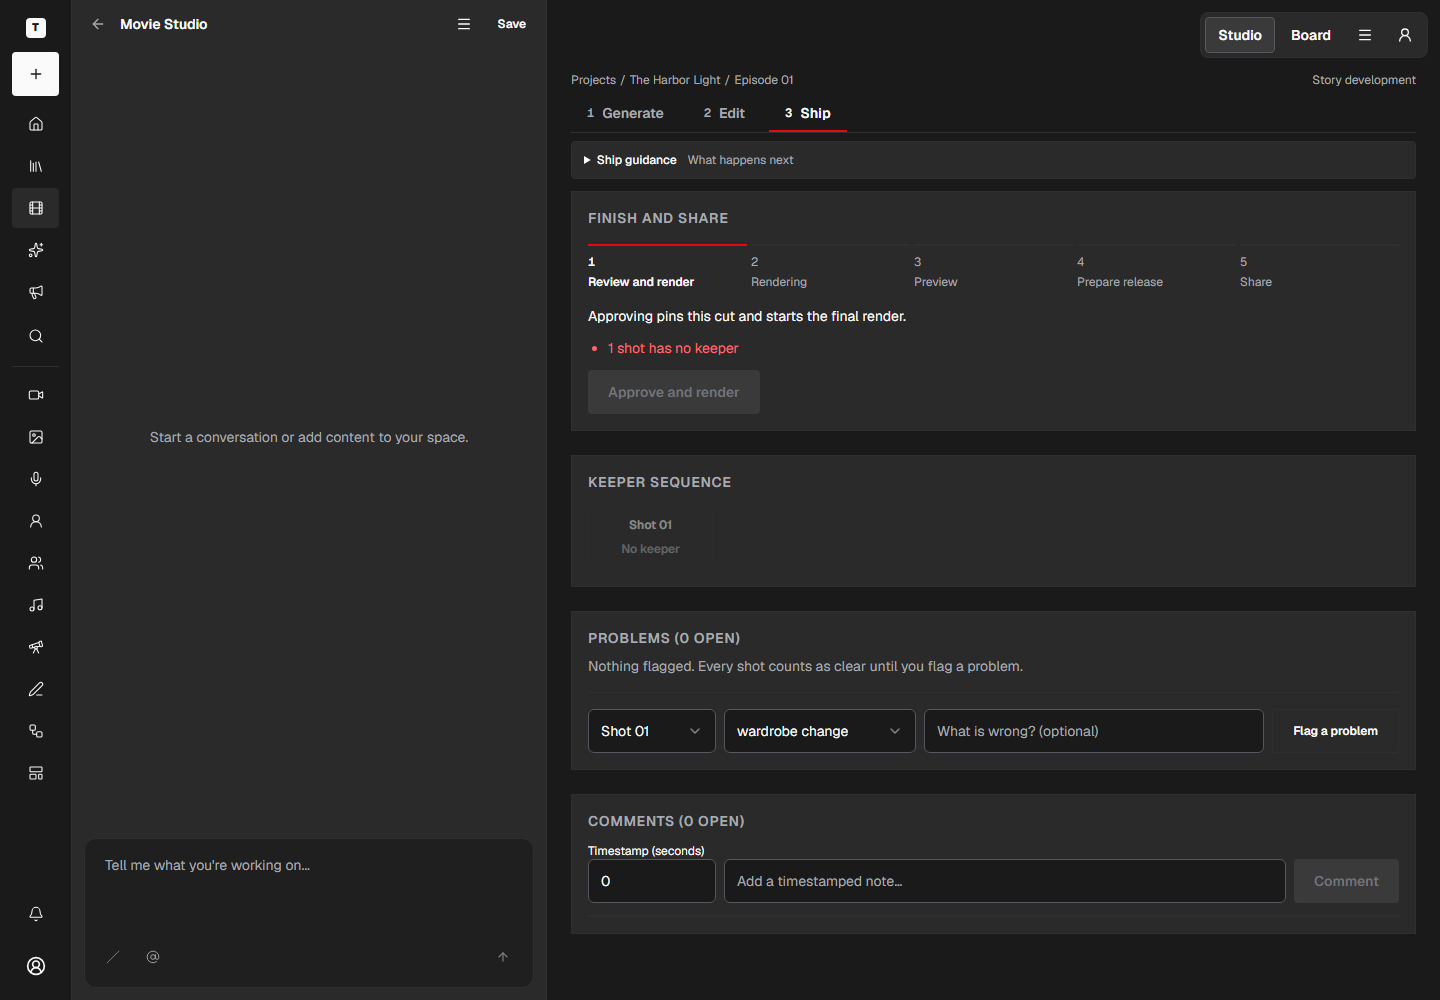
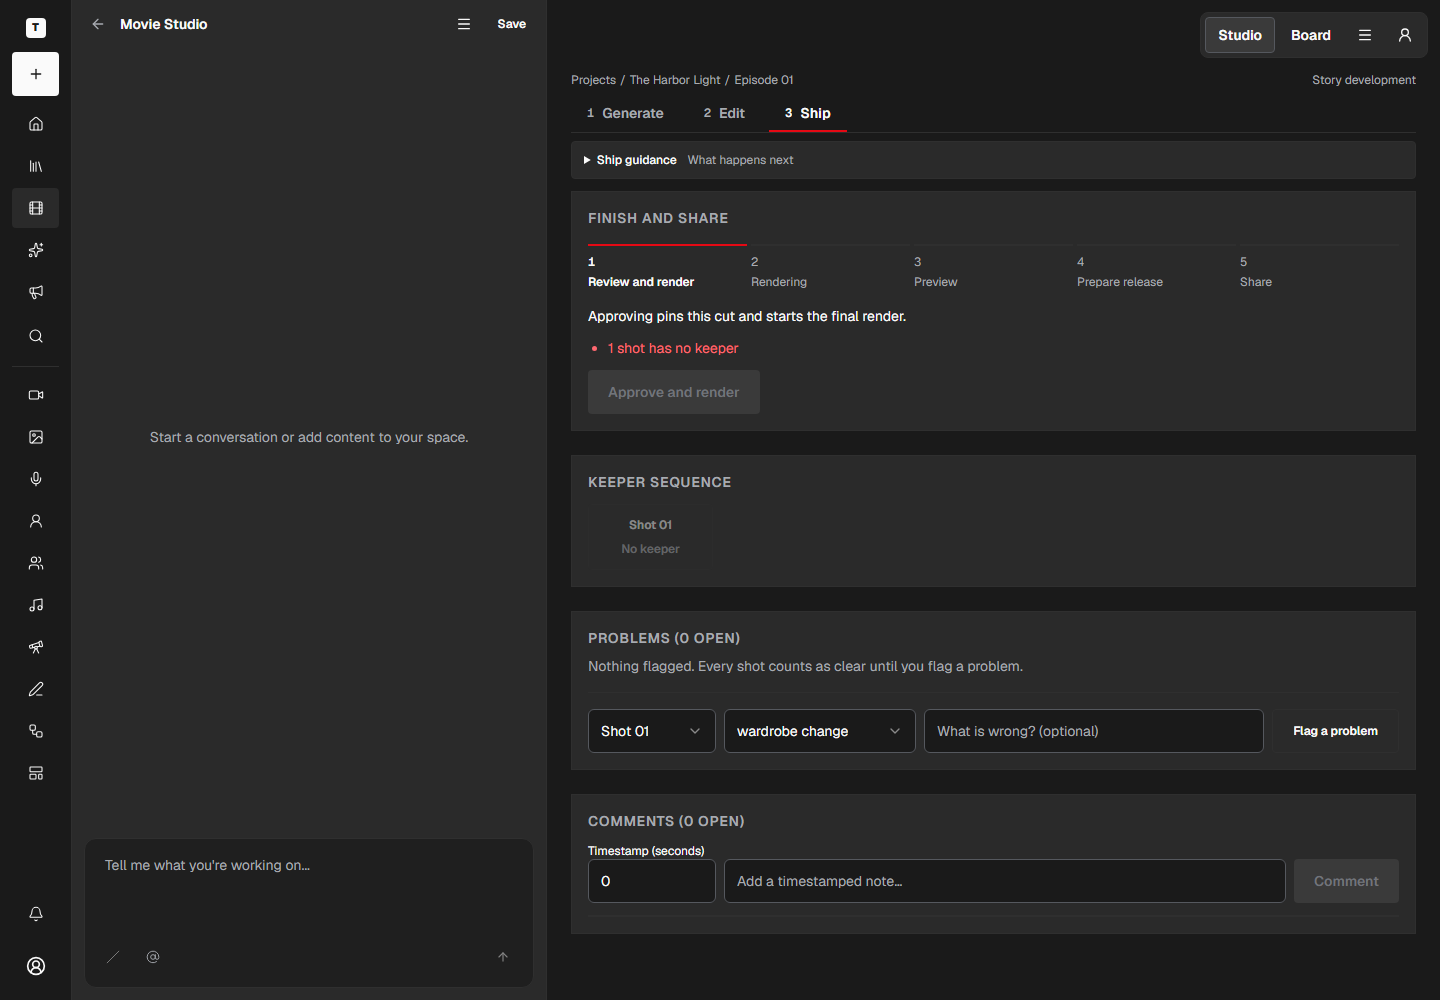
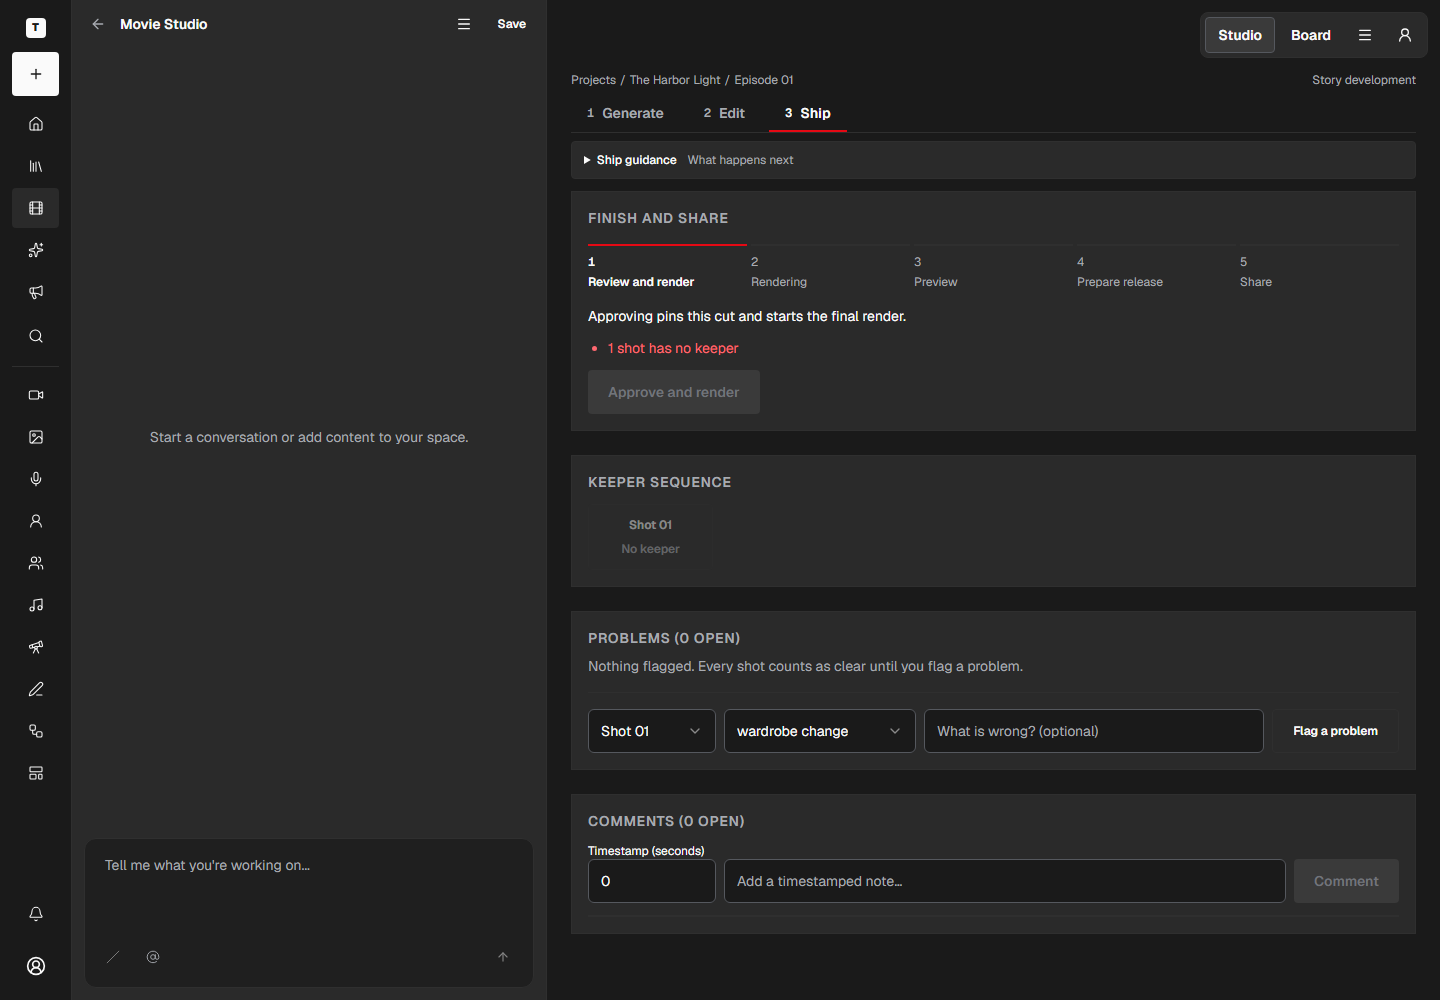
    Founders flag any problem they see, resolve or accept it with a reason, then approve. Approval pins the cut and starts the final render; a sealed release version can then be published publicly or by a seven-day unlisted link.

For viewers

Watching, responding, and handling private preview links.

Watching films and captionsUse the released-film player, select captions when supplied, and recover from common playback problems.

A released film can use HLS when the browser supports it, fall back through the player library, or use its MP4 source. Playback starts only after a viewer action, and audio is never forced on automatically.

Captions appear only when the release includes a valid caption file. If playback stalls, check the connection, reload once, and use Service status to see whether the Studio API could be reached. That status does not prove media delivery is healthy.

Feedback and reactionsSend a reaction or written note that stays attached to the release version and playback moment you viewed.

Reactions and written feedback are intentional submissions from the released-film player. A written note can include the timestamped playback position so founders can return to the exact moment under discussion.

The player keeps a random viewer value in browser storage and sends only its SHA-256 hash with an event or feedback submission. Failed submissions remain visible so you can retry; loading the player alone does not send that viewer hash.

Unlisted links and privacyTreat an unlisted URL as a private capability for one published release, not as a public catalog page.

An unlisted release is omitted from public catalogs, search, sitemap entries, social metadata, and adjacent-episode discovery. Its token-bearing path is marked noindex and uses private, no-store response policy.

An unlisted link works for seven days or until the release is unpublished, and can be opened more than once. Share it only with the intended review audience and do not paste it into feedback or public messages.

For founders

Production decisions, safeguards, release gates, and recovery.

Generation variants and selectionCompare completed variants, select useful material, reject misses, and keep each decision tied to its source job.

The current founder workflow records generation attempts and lets founders compare, select, reject, regenerate, and review job history. A completed generation is an available option, not an automatic editorial choice.

The unified public shell currently routes founders through sign in. Detailed generation controls may still live in the existing founder application until that Studio surface is integrated, but the underlying job and selection behavior described here is implemented.

Assets, rights, and quarantineUpload production assets, understand deduplication, and resolve rights or quarantine state before release.

The Studio asset flow records uploaded material, detects duplicate content, and keeps rights and quarantine state with the asset. A duplicate can reuse the existing record instead of creating an unrelated copy.

Quarantined or rights-blocked assets cannot be treated as release-ready. Founder sign in is the public entry point; deeper asset-library route availability depends on the founder surface that has been integrated.

Editor revisions and conflictsTwo founders can edit the same cut; the newer save wins and every older revision stays restorable.

There is no editor lock. Every save names the revision it was based on, so a save that lands after someone else's is refused instead of overwriting it; your changes stay in the browser until you reload the latest revision and reapply them.

Each successful save creates a new immutable revision. Restoring older work also creates a new revision rather than rewriting history, so nothing a founder saved can be lost.

Continuity reviewReview visual and story continuity before approval, and return an episode to editing when a problem remains.

Continuity review gives character, setting, prop, timing, and narrative mismatches a named decision point before release. Comments can stay attached to the relevant moment and revision.

Approval is not automatic. A founder can send the episode back to editing, save another revision, and review again. The current public route explains this behavior; the detailed review surface may still be reached through the existing founder application.

Release requirements and blockersResolve incomplete shots, reviews, rights, continuity, render, caption, disclosure, and metadata checks before publishing.

The release gate checks that required shots are ready, every flagged problem is resolved or accepted with a reason, asset rights are clear, and a successful render is attached to the version being published.

Caption, disclosure, title, description, poster, visibility, and related release metadata must also satisfy the current contract. Publishing remains a deliberate founder action after blockers clear; a successful render does not publish itself.

Durable job recoveryRead the saved job state, distinguish a delayed job from a failed one, and retry only when the workflow permits it.

Generation and render work uses durable job records, so a page refresh does not erase queued, running, completed, failed, or cancelled state. Return to the founder workflow to read the saved result before starting replacement work.

Retry is available only for failed or cancelled jobs that remain under the retry limit. A delayed or running job should not be duplicated just because the browser stopped waiting, and this page makes no promise about completion time or provider availability.

New Production import setupChoose concept or import, understand series episodes versus Adaptation Studio scenes, and use autofill from packages, novels, or pilots.

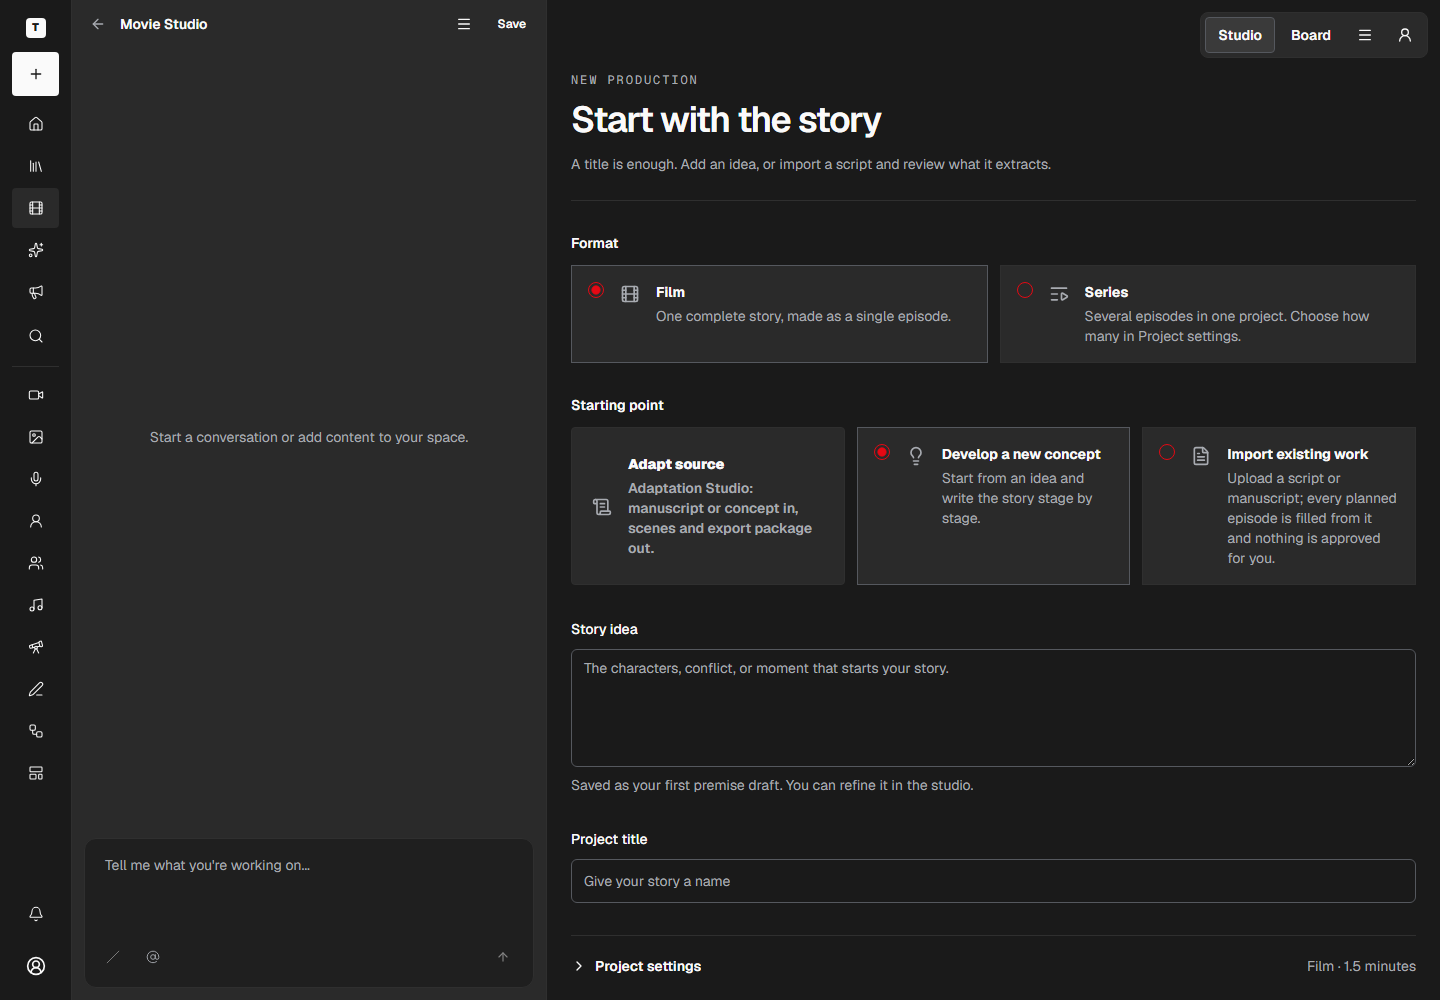
Start New Production with either a fresh concept or an import of existing work. Concept opens empty story stages. Import uploads verified source documents, creates series episode slots, and extracts reviewable drafts before anything is approved.

Episodes on New Production are publishable series slots. Adaptation Studio later breaks each episode into scenes and short spoken segments of about four to five seconds. Do not treat scene-report headings or shot lists as the series episode count.

Autofill reads the selected ready source. Adaptation Studio export packages use package meta for title, episode count, and minutes. Long prose estimates episodes from word count at about 150 words per minute divided by minutes per episode. A pilot or feature without Episode markers suggests one series episode.

The destination episode range chooses which series slots this import fills. A single-episode pilot uses range 1-1. A long vertical package uses 1 through the suggested count. You can edit every field before Create and import.

Scene-report FDX files are useful for continuity context but must not invent dozens of series episodes from heading counts. Prefer a full screenplay, manuscript, concept/treatment, or Adaptation Studio export package when setting up New Production.

After Create and import, review extracted drafts and resolve conflicts before approval. Detailed scene and segment breakdown in Adaptation Studio comes after the series episode plan is in place. Credentials stay server-side; this setup screen does not collect API keys.
Guides

Step-by-step walkthroughs with real screenshots, for viewers first and then for founders.

Guides for viewers

Short walkthroughs with real screenshots. No account needed.

Watch a seriesBrowse the released films, open a series, and watch an episode. No account needed.

Before you start: A web browser. No account is needed..

  1. 1.Start on the front page

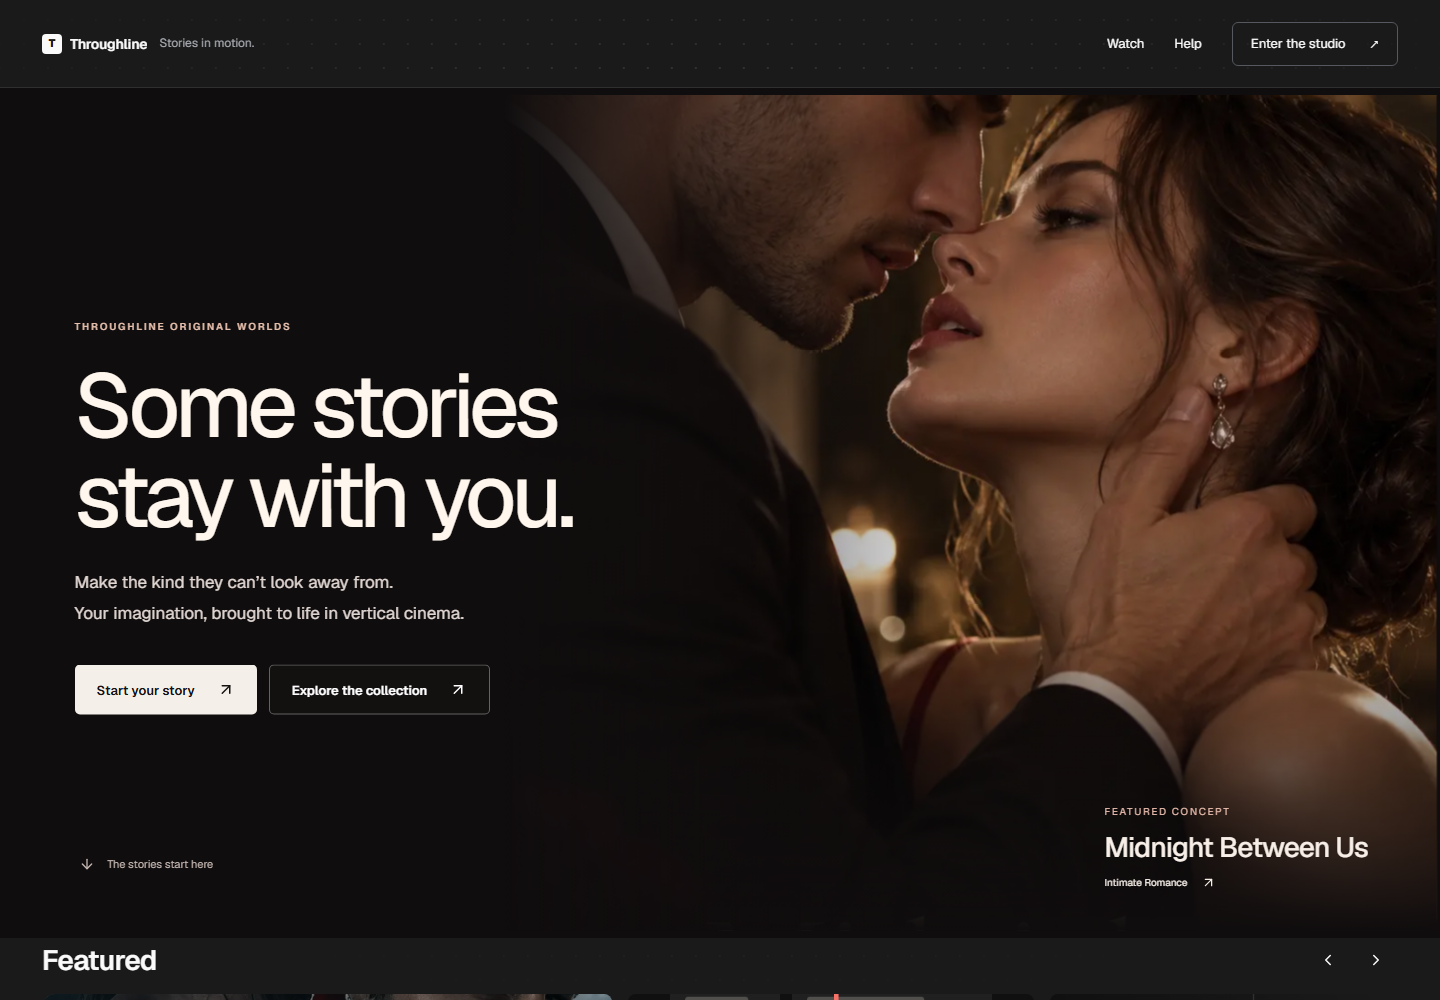
    Open the site. The front page shows what is new. Click Browse the collection to see everything that has been released.

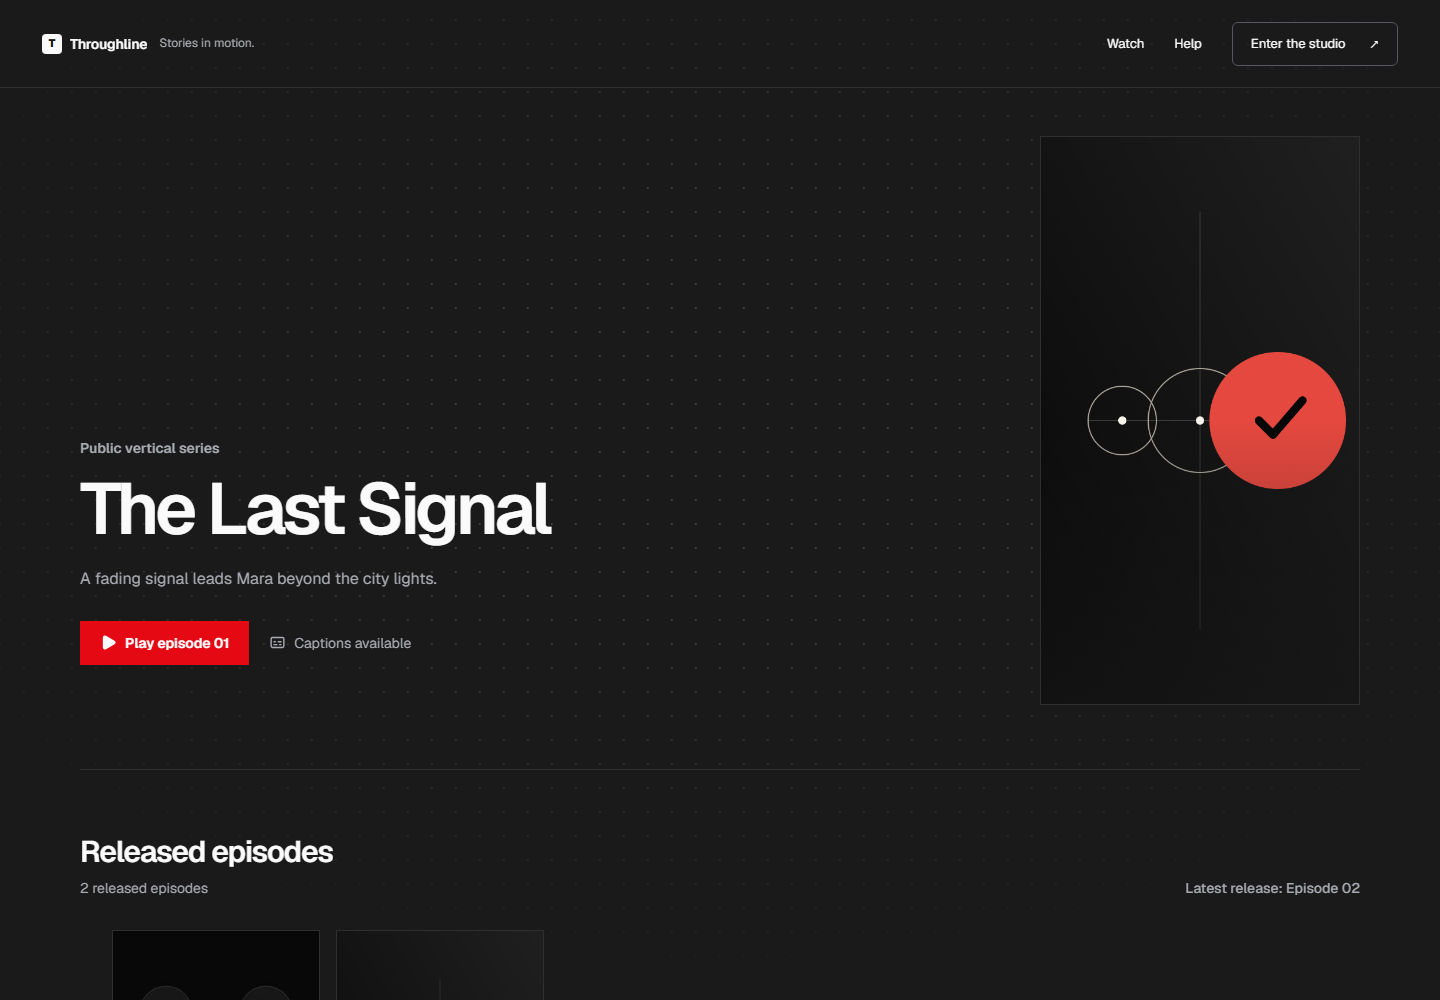
    The front page with the Browse the collection link
  2. 2.Pick a series

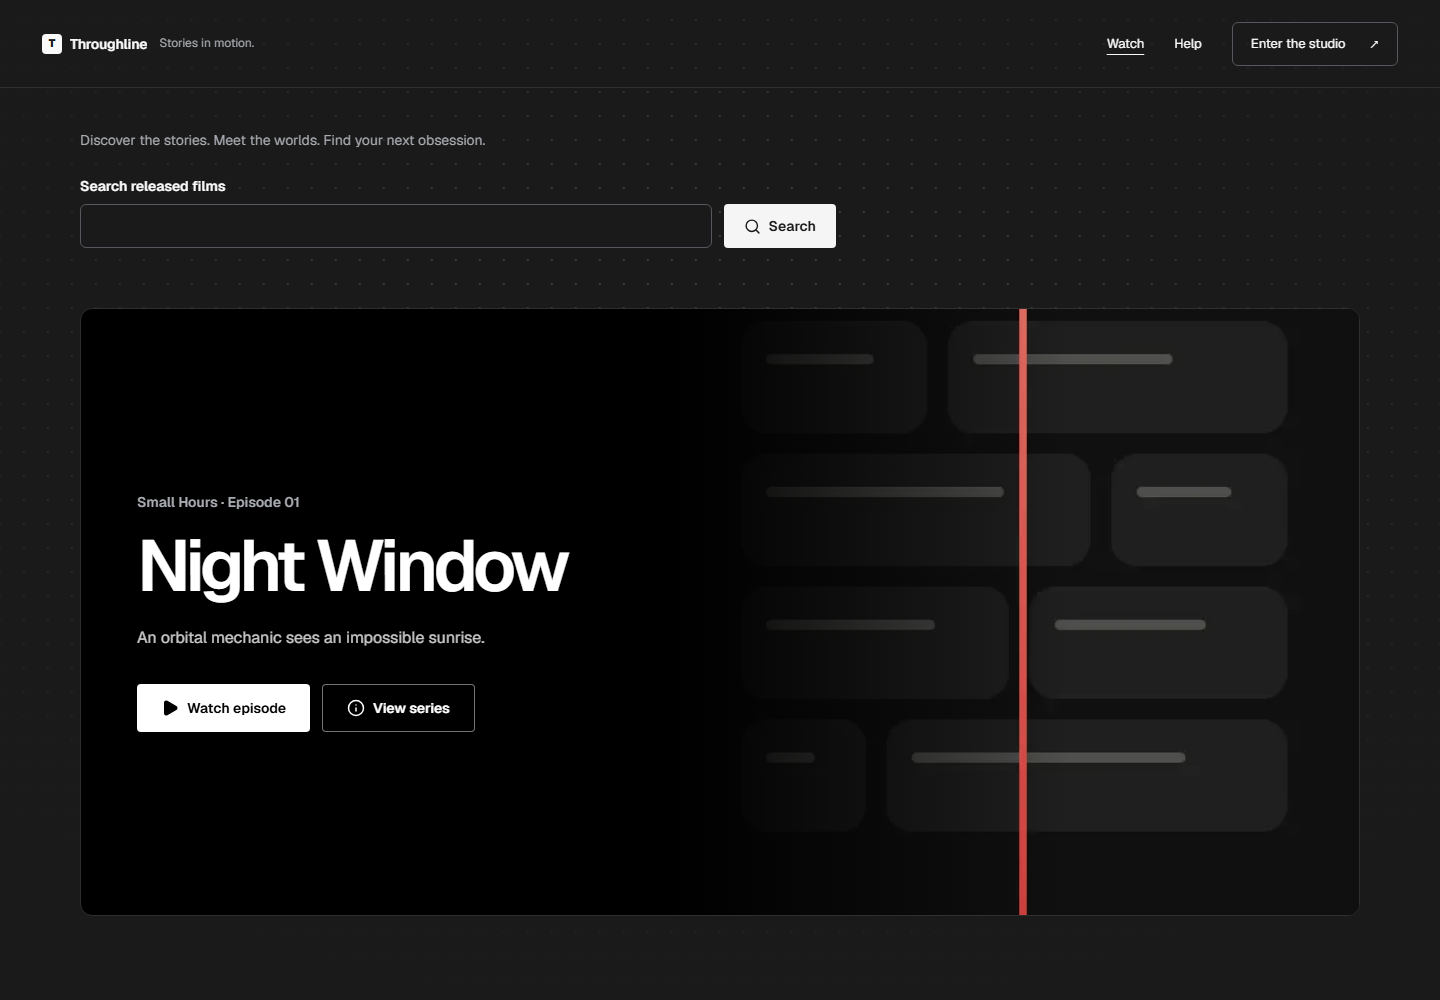
    The Browse page lists released series. Click an episode card to read a short description, then open the series page.

    The Browse page listing released series
  3. 3.Open the series page

    The series page lists every episode in order. Click an episode to start watching.

    A series page listing its episodes
  4. 4.Watch and react

    The player has captions, a Love it button, and a box to leave feedback at the moment you are watching. The next episode link is under the player.

    The episode player with captions and feedback controls
Sign in and find your way aroundSign in with your email and password, then learn what the Home page and the main menu do.

Before you start: An account email and password.

  1. 1.Open the sign-in page

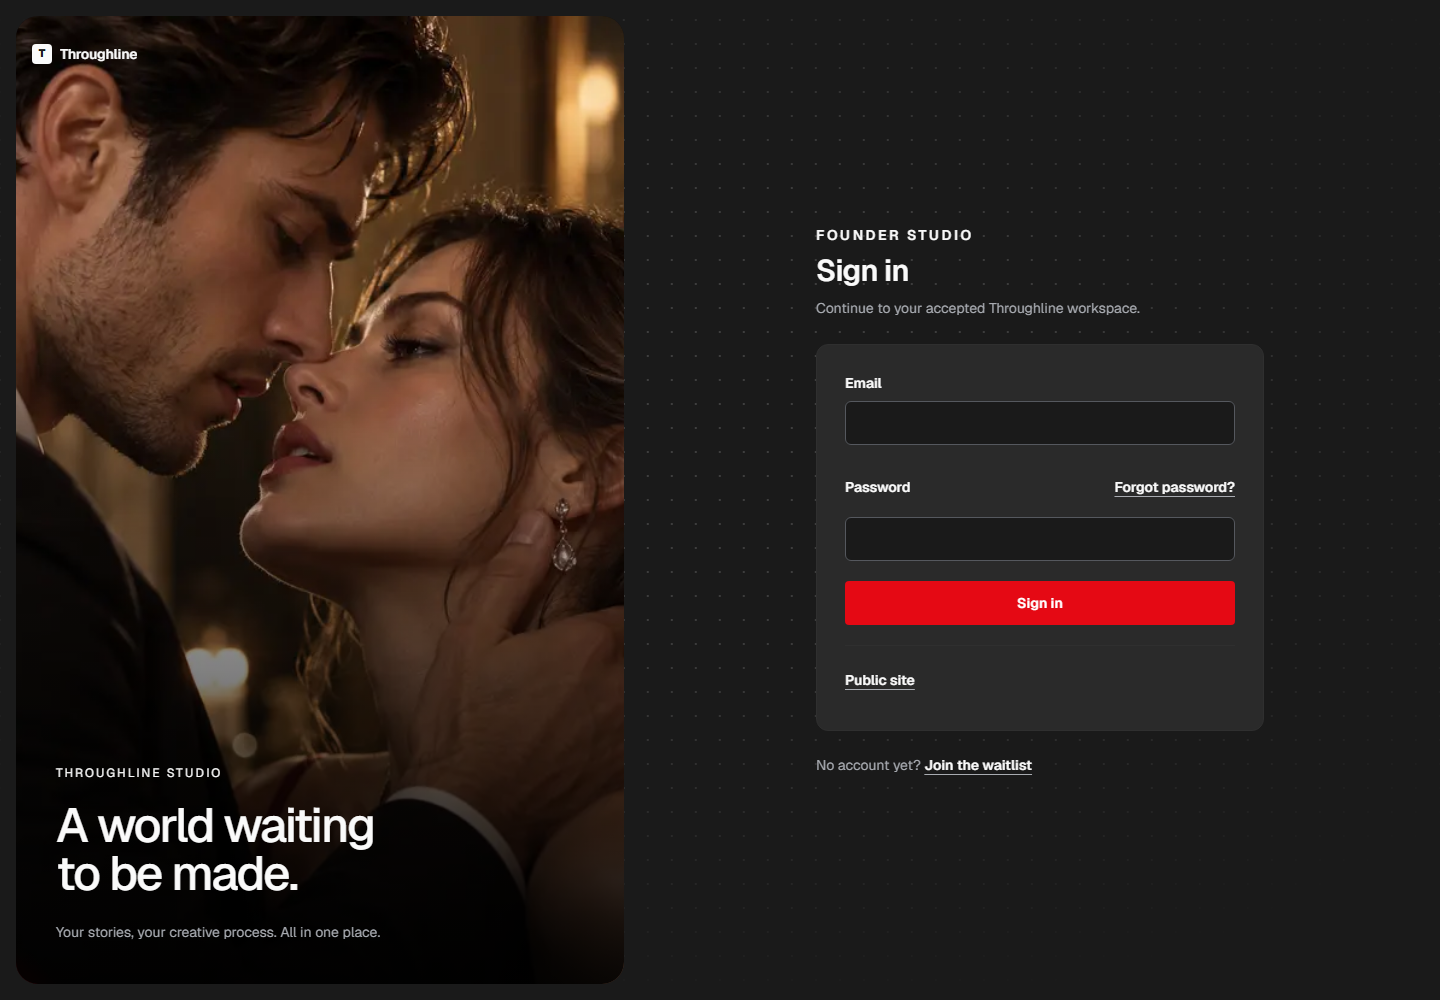
    Click Sign in at the top of any page. Type your email and password, then click Sign in. Use Reset if you forgot your password.

    The sign-in form with email and password fields
  2. 2.Land on Home

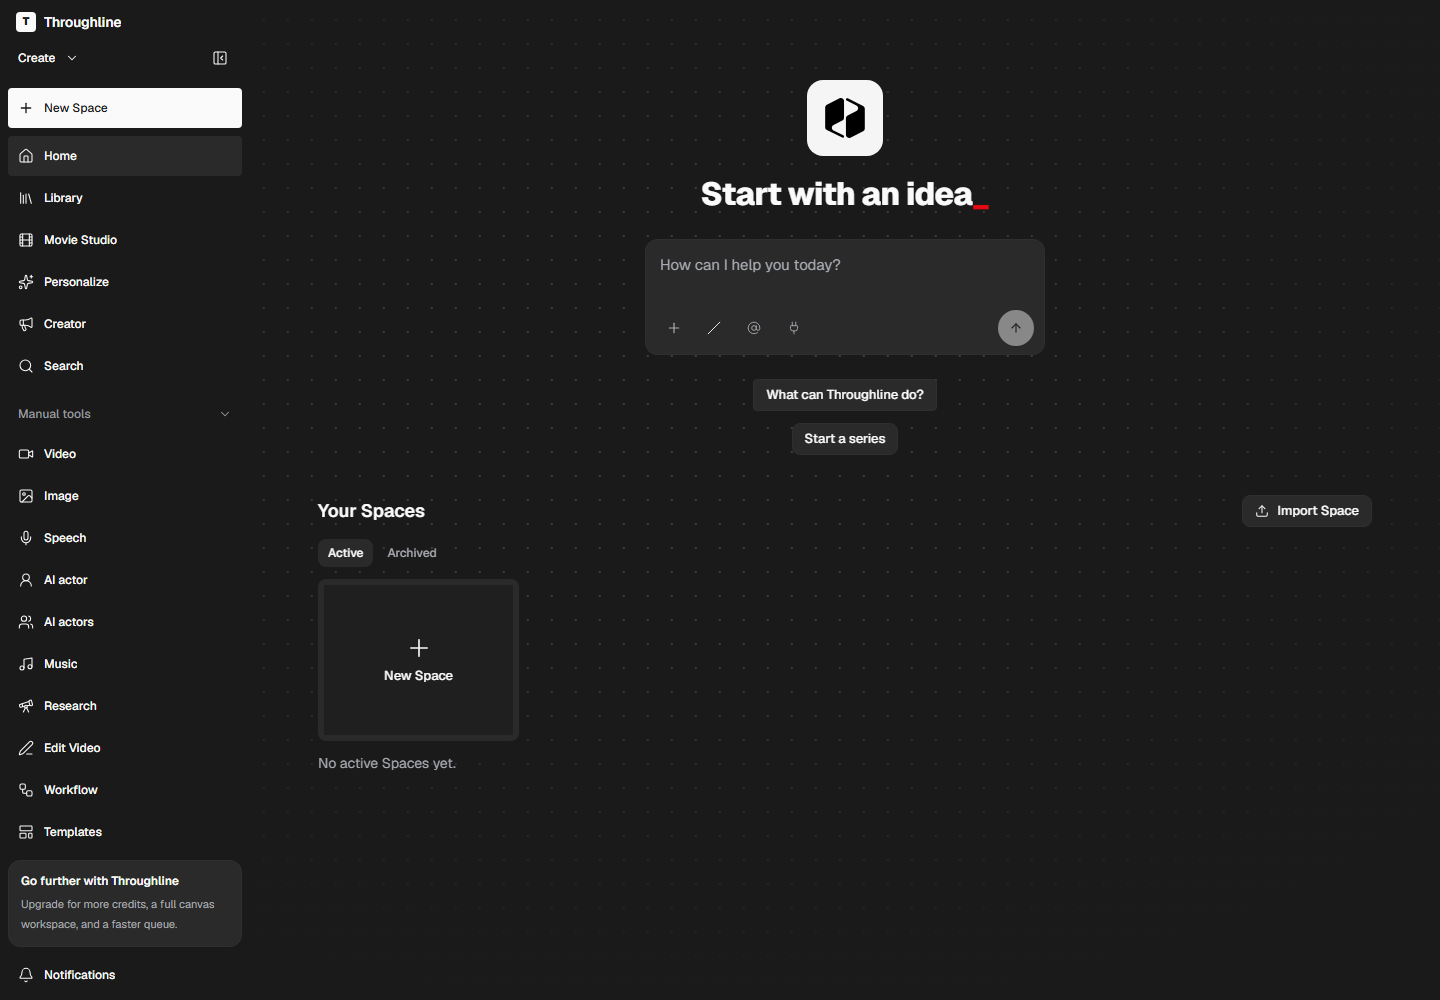
    After signing in you arrive at Home. It starts with an idea box and shows your recent work. The left menu links to Library, Movie Studio, and the creator tools.

    The Home page after signing in
  3. 3.Open Movie Studio

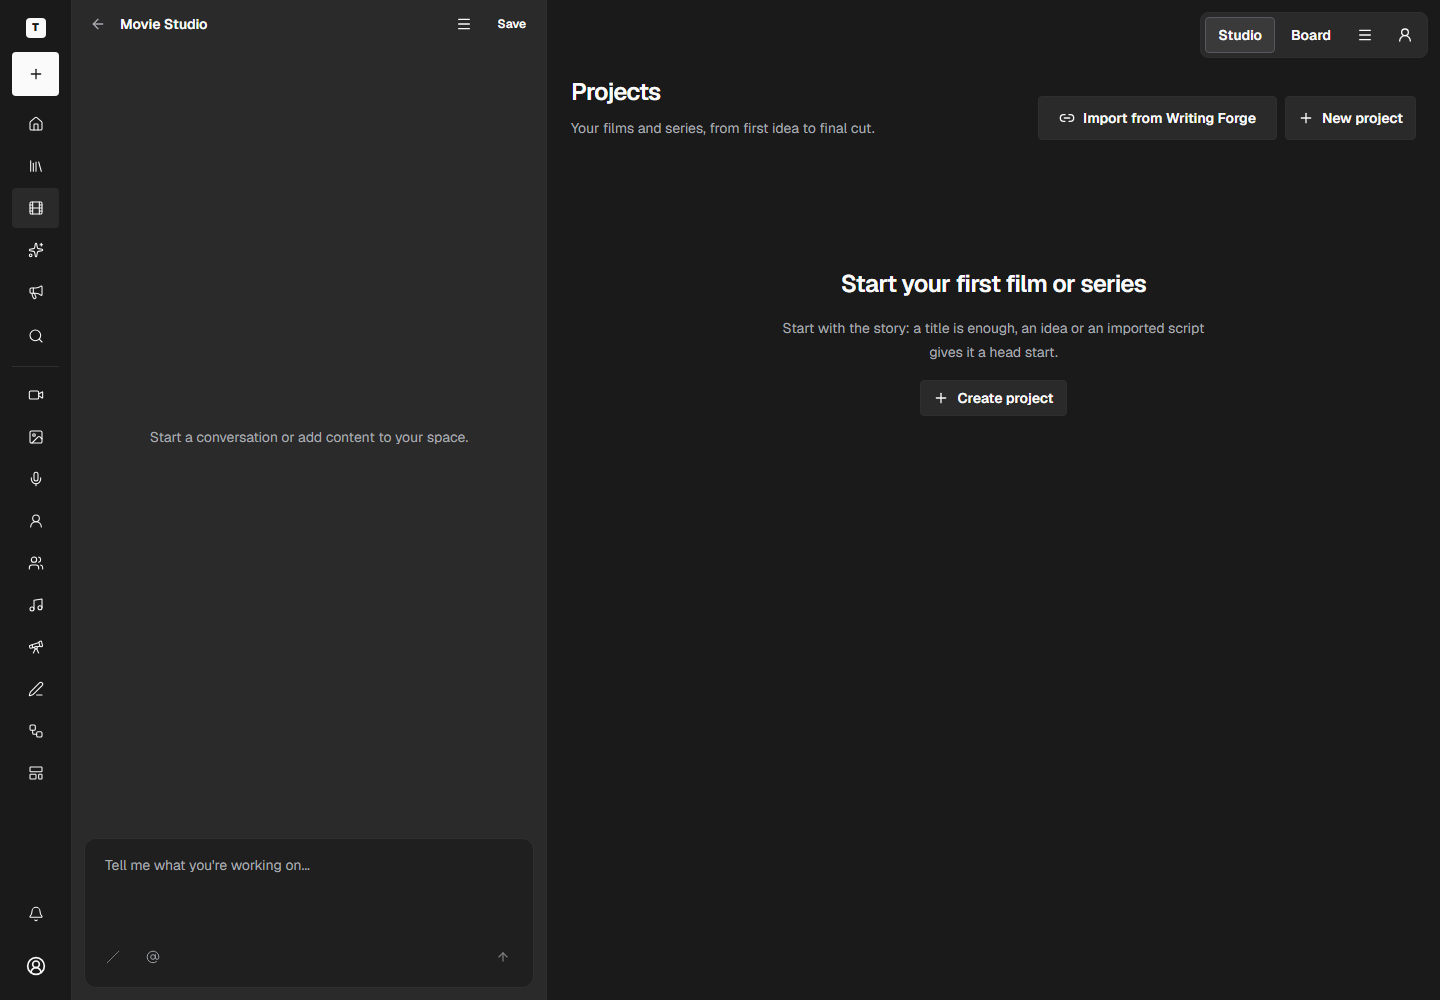
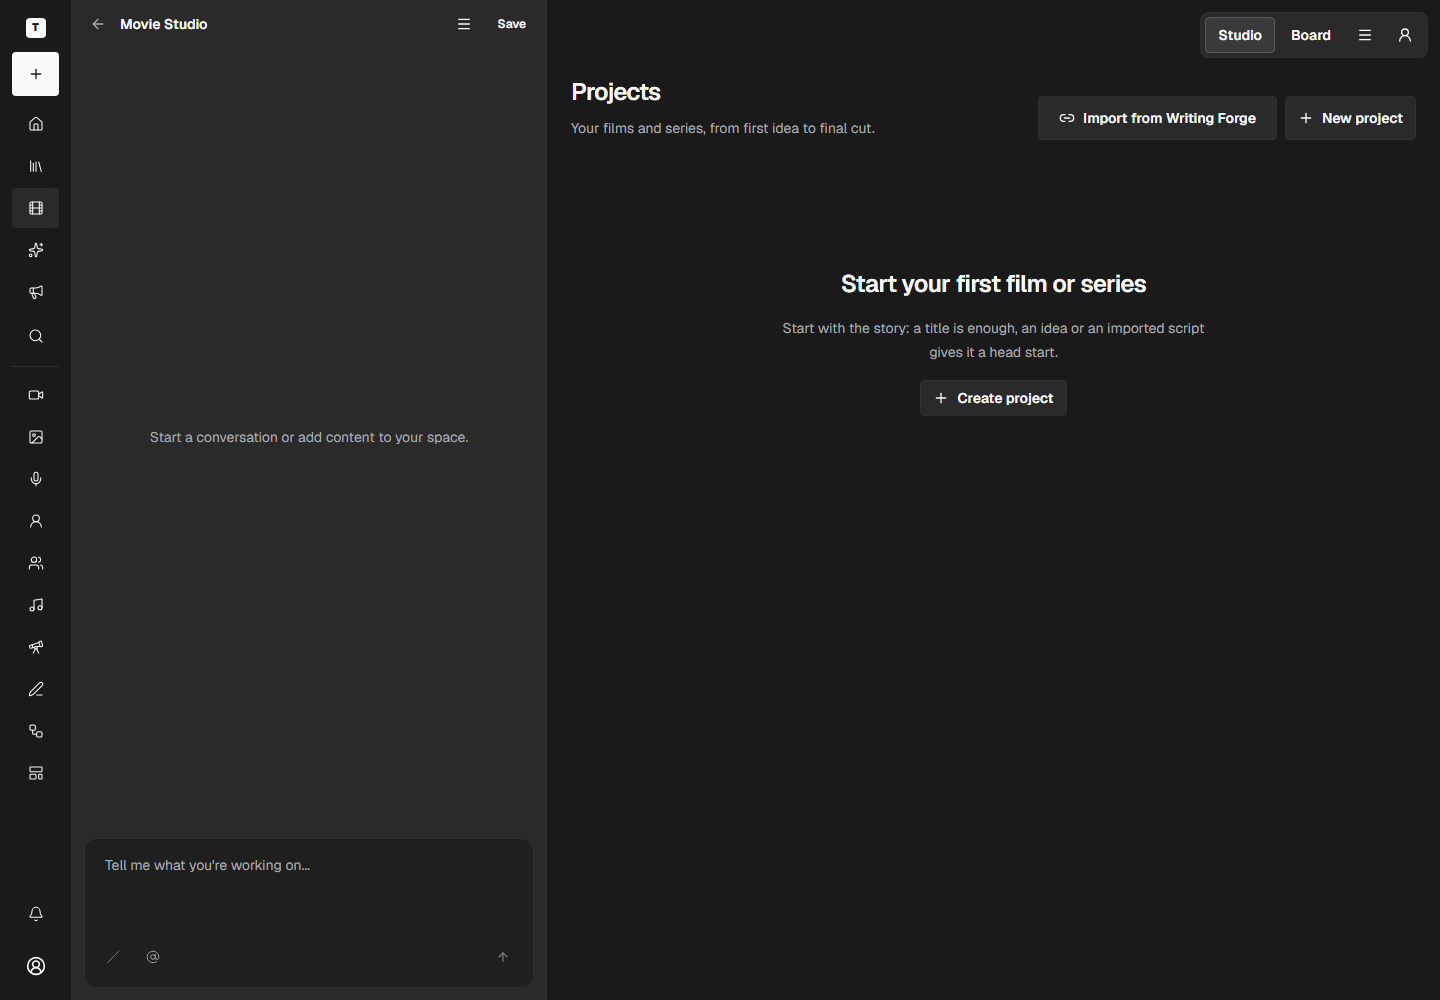
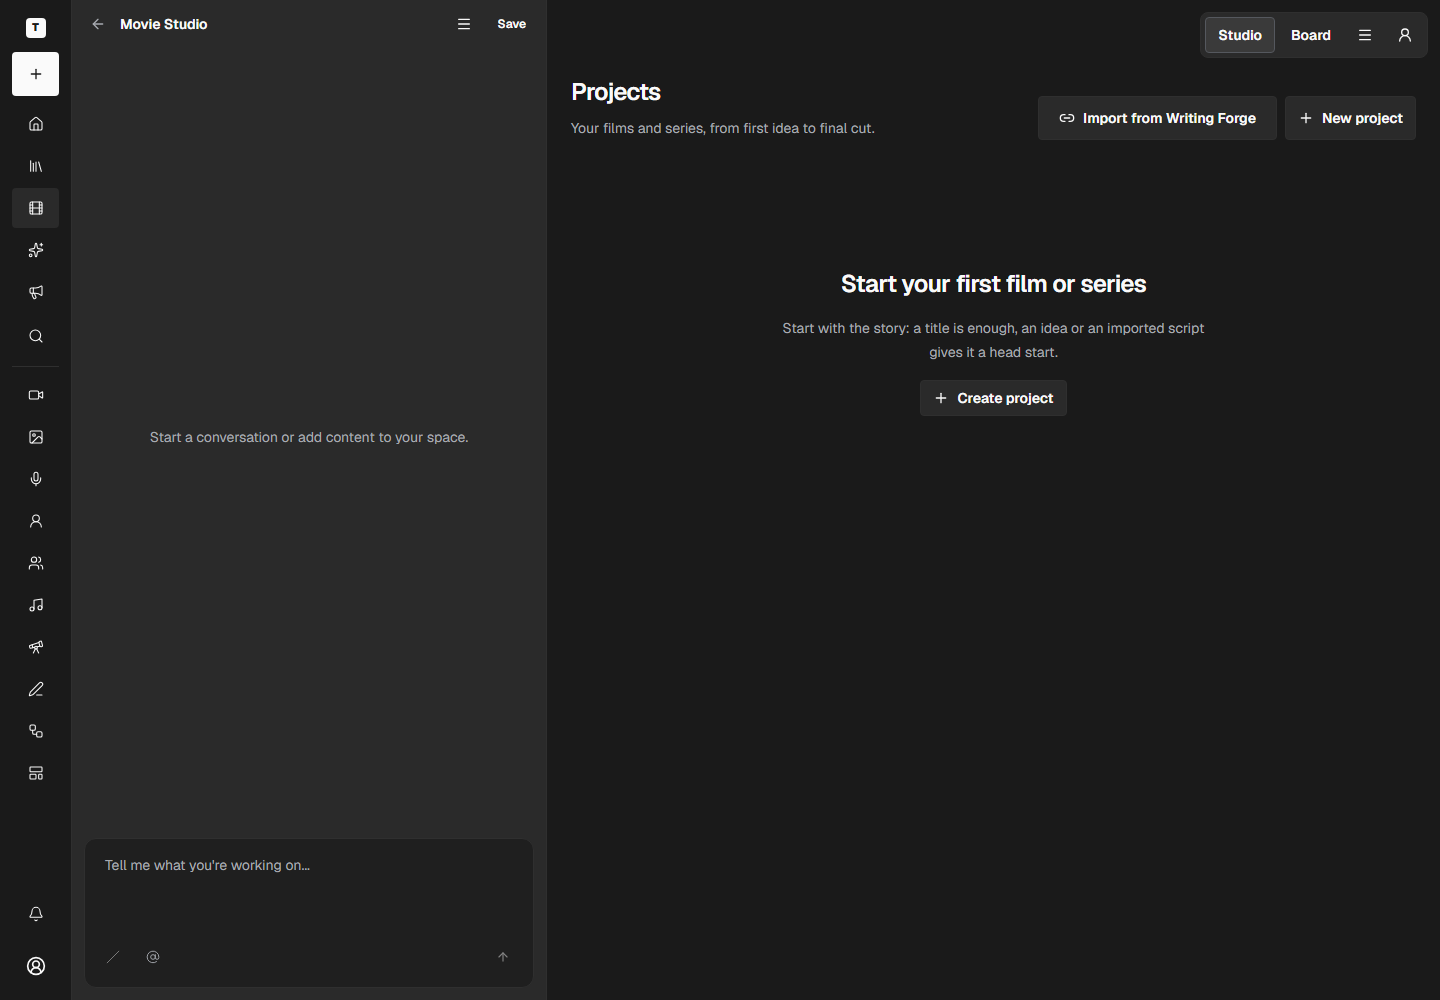
    Movie Studio is where your projects live. Open it from the menu to see every project, or to start a new one with New Production.

    The Movie Studio projects page

Guides for founders

Task-based walkthroughs through the production line. Each names its prerequisites, links its working route, and ends with a recovery link.

Start your first projectOpen New Production, describe the story idea, and create the series shell that later guides fill with work.

Before you start: A signed-in founder account; One story idea in a sentence or two.

  1. 1.Open New Production

    From Projects, open New Production and choose a fresh concept when there is no source material to import yet. A short story idea is enough to create the series shell.

    The New Production form with a project title filled in
  2. 2.Describe the idea once

    Write one or two sentences about the story. The same text carries into the series composer, so there is no need to retype it after signing in.

  3. 3.Create and confirm

    Create the series, then confirm it appears in Projects before continuing. If the list does not show it, reload once before creating a second copy.

    The Projects page showing the new series
Make an episode in the Movie StudioGo from a project title to a finished episode: develop the story, generate shots, check the jobs, review, edit, and ship.

Before you start: A signed-in founder account; A story idea or a source file.

  1. 1.Create the project

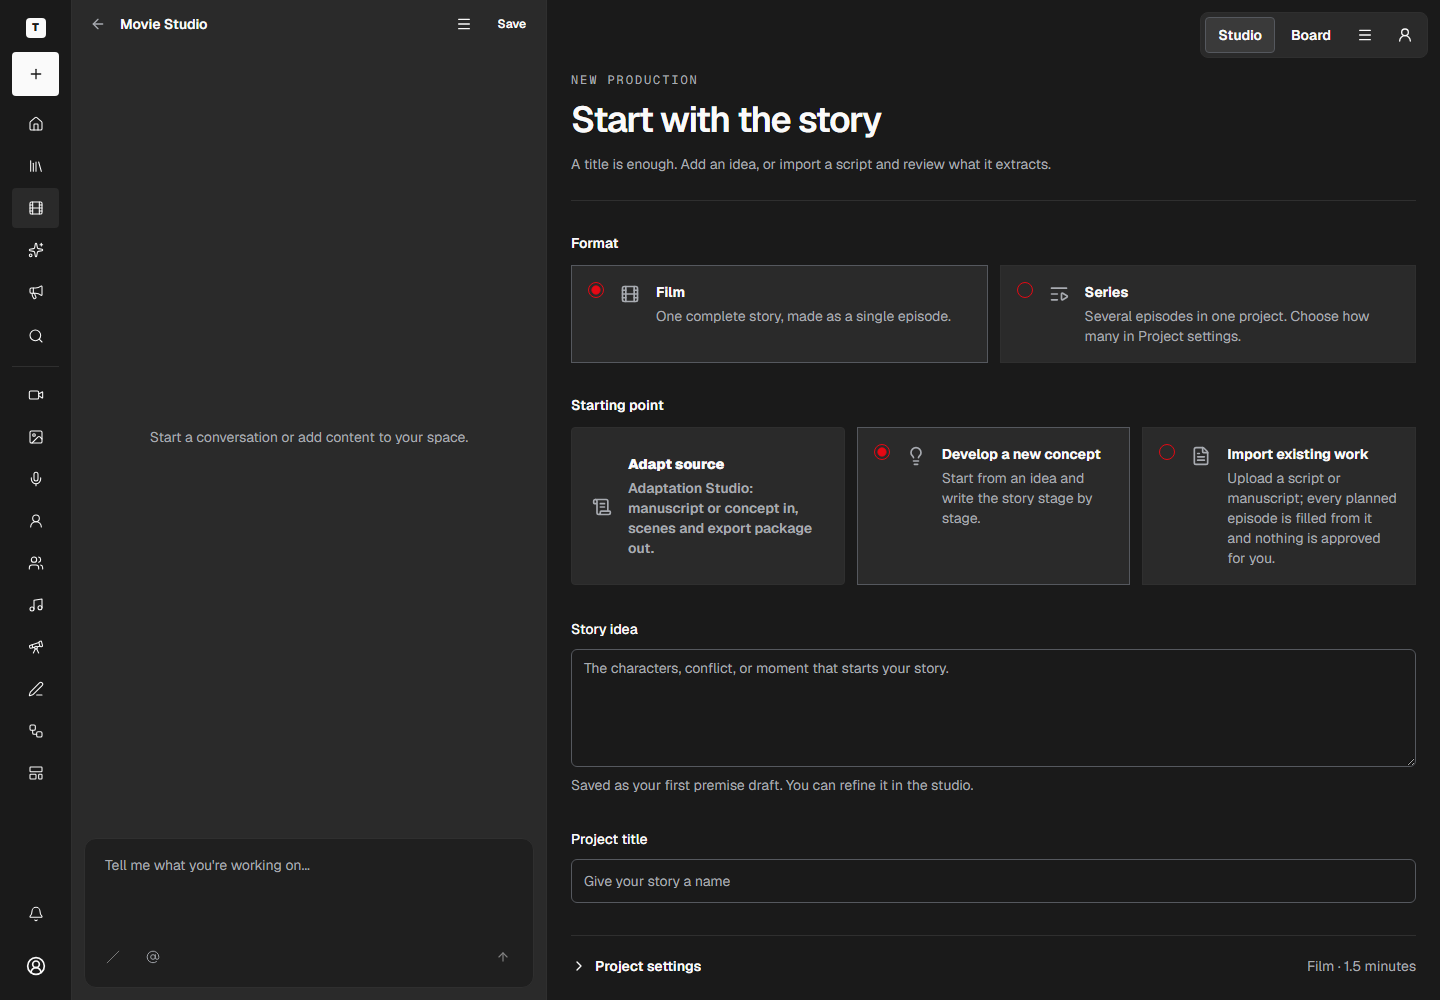
    Open New Production. Type a title, choose Series, set the number of episodes, and click Create concept. You land on the Premise page.

    The New Production form set up as a two-episode series
  2. 2.Build the story foundation

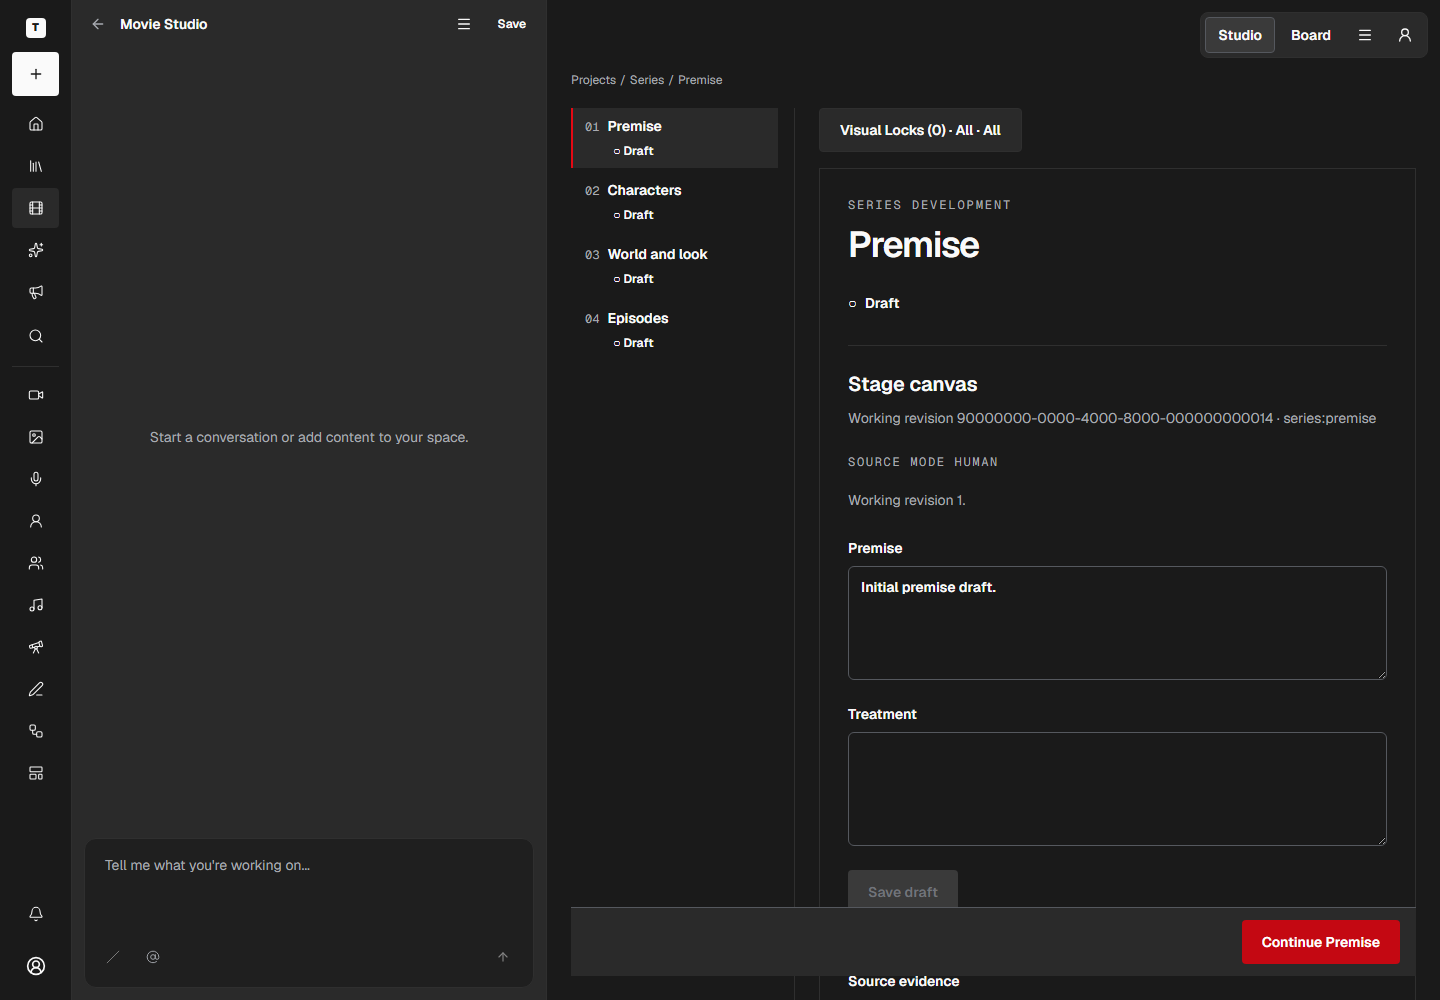
    Work through Premise, Characters, World and look, and Episodes. Each page has Save draft, Continue, and Approve buttons. Approve a stage when you are happy with it.

    The Premise stage of the story foundation
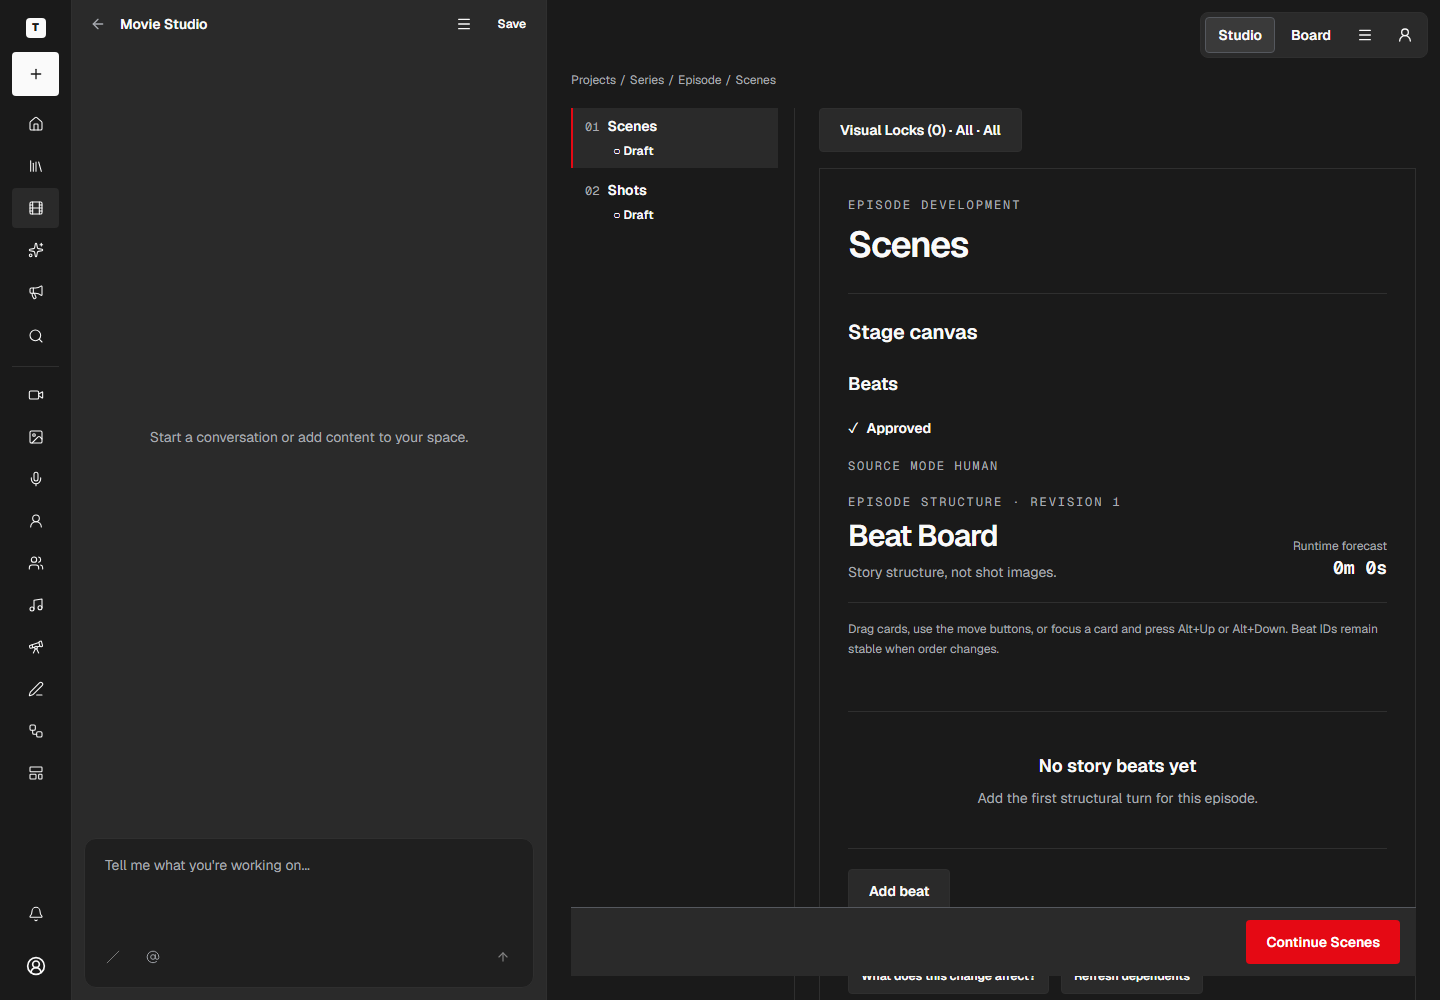
  3. 3.Plan the scenes on the Beat Board

    Open an episode to see its Beat Board. Each beat becomes a scene with shots. Add, reorder, or rewrite beats until the episode reads well.

    The Beat Board for an episode
  4. 4.Generate and watch the jobs

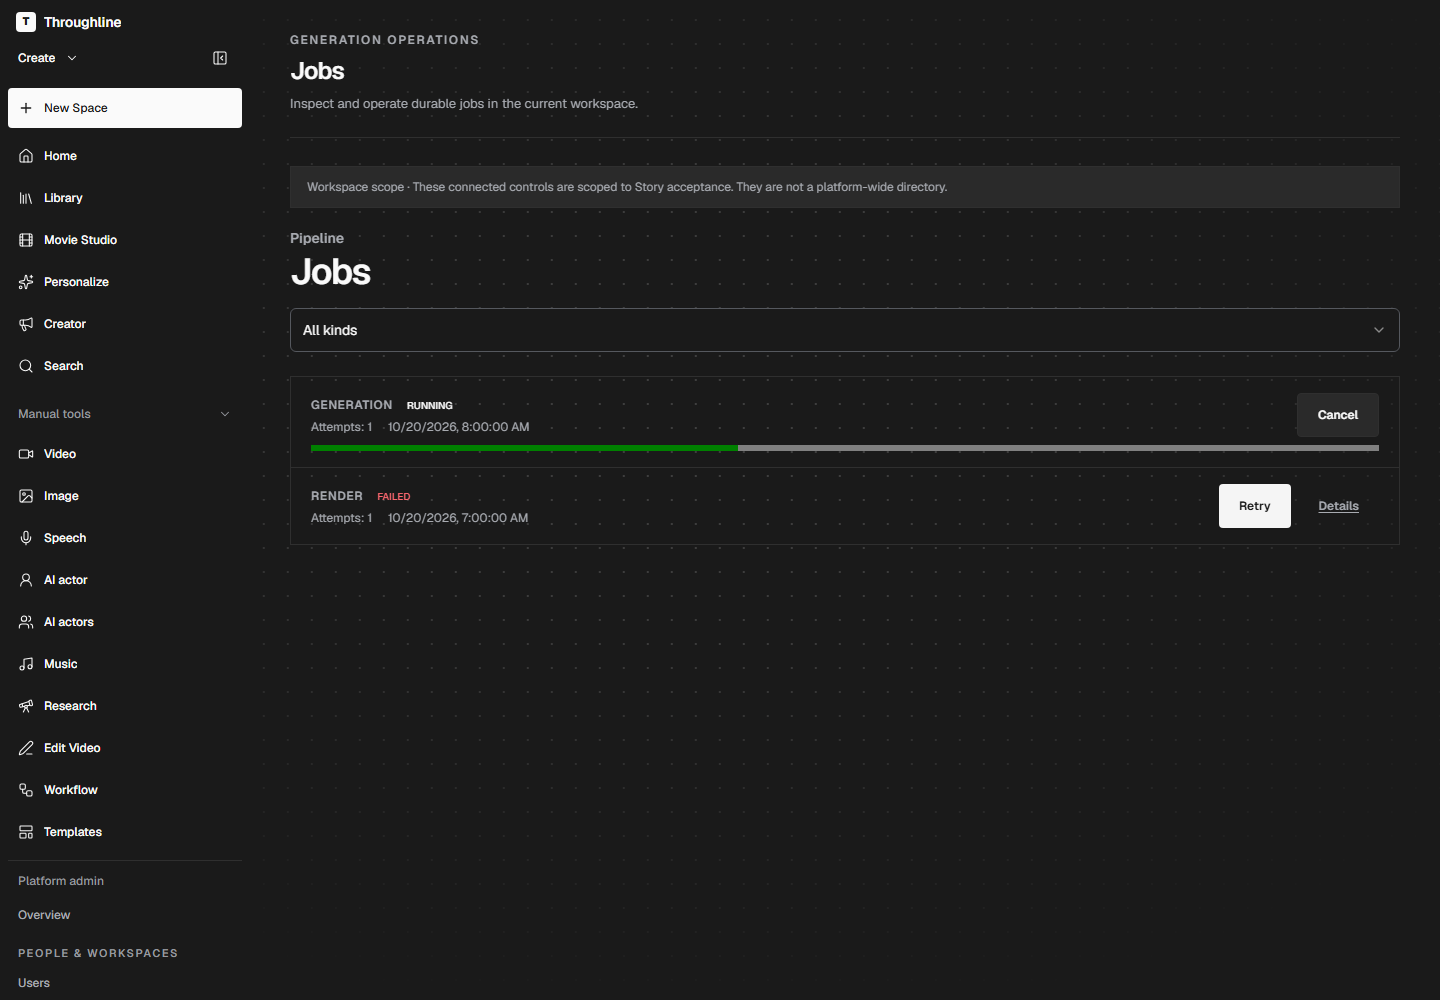
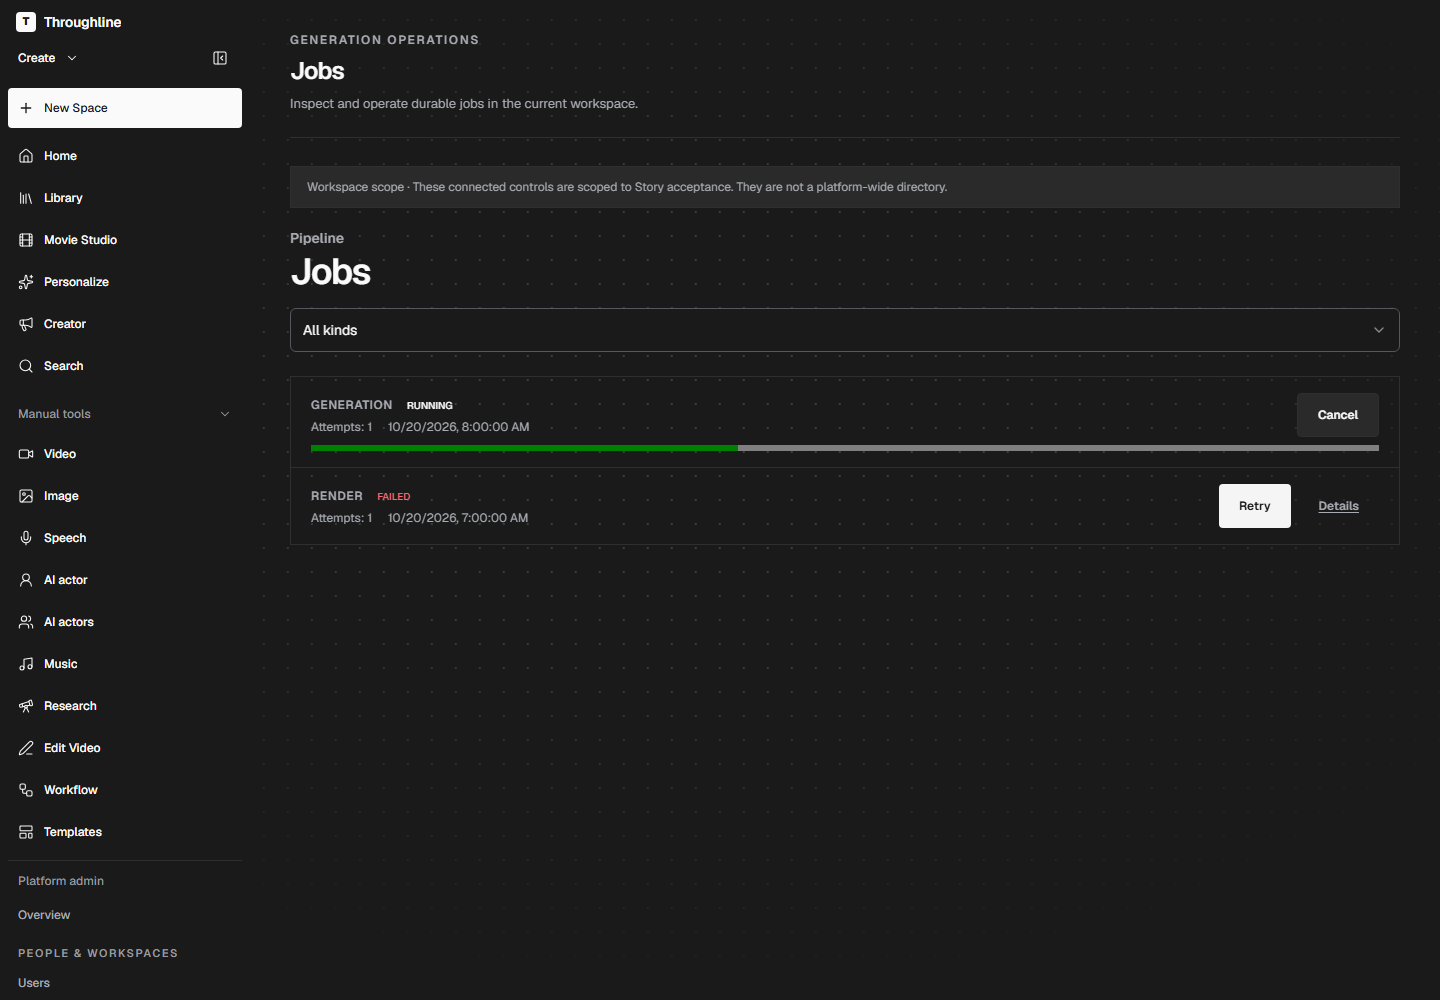
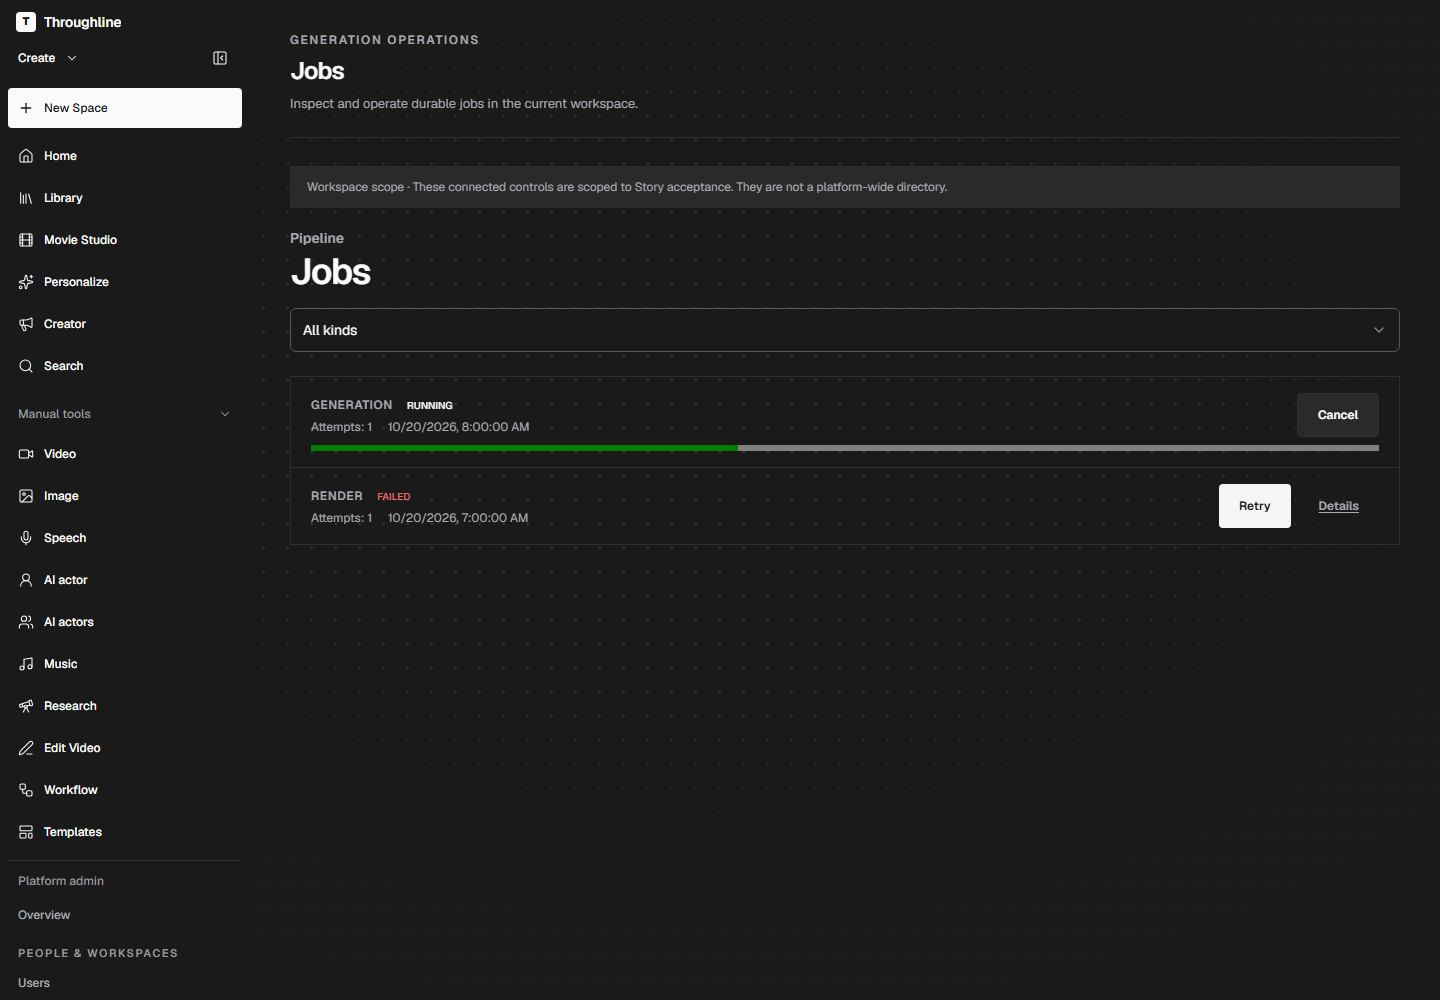
    Use Generate on the episode to create shots. Every generation is a job. Open Jobs to see what is queued, running, done, or failed.

    The Jobs page listing generation jobs
  5. 5.Review the episode

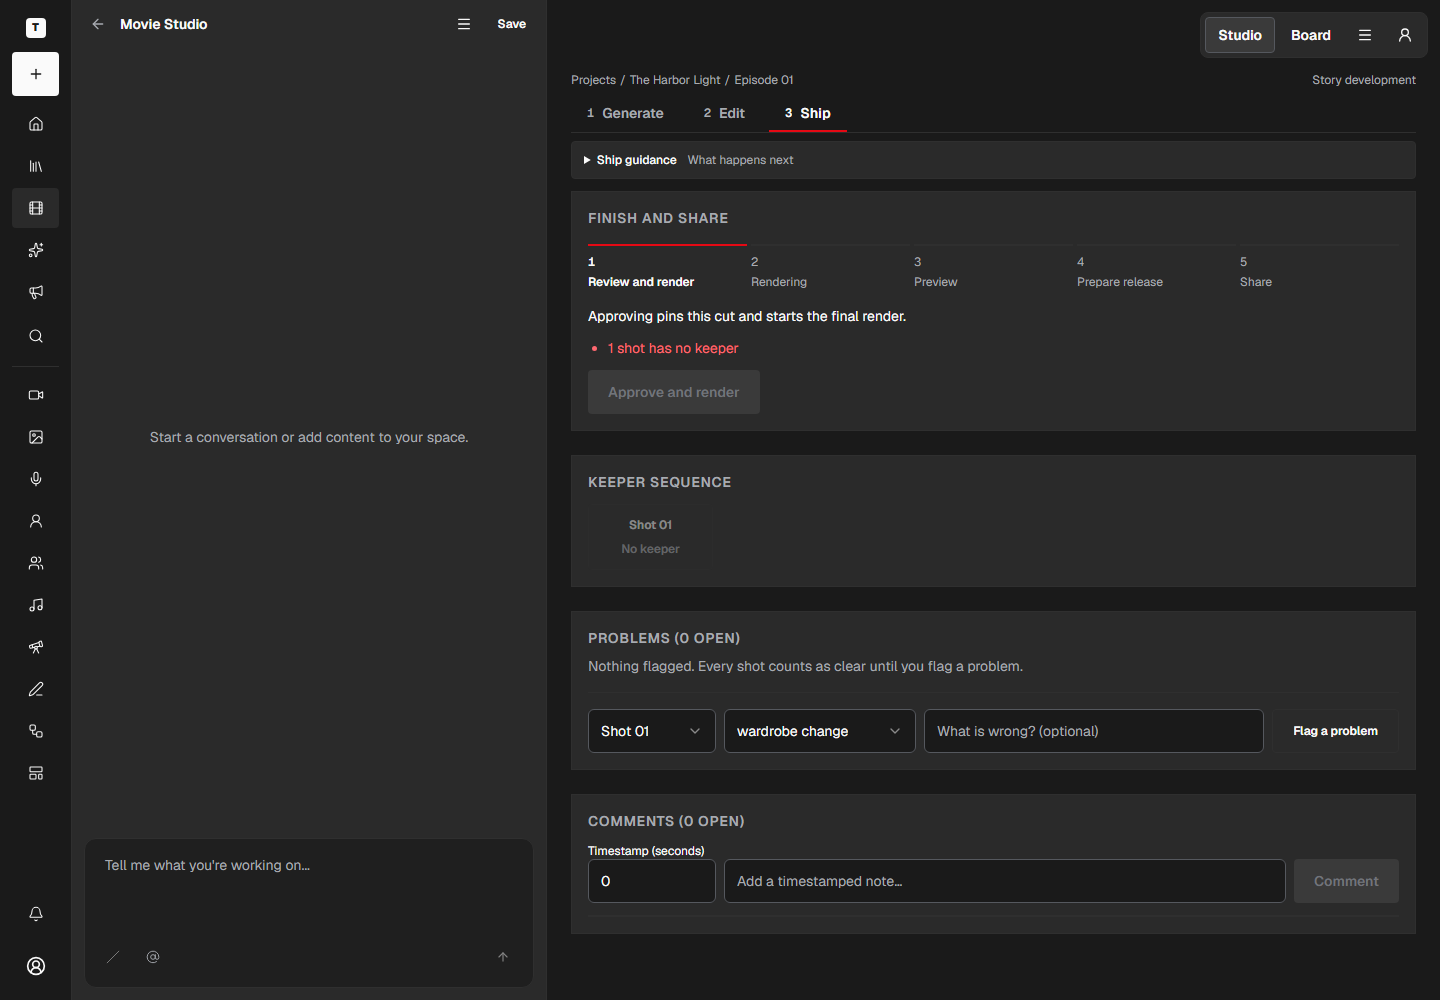
    The Review page shows a keeper preview, a list of problems, and comments. Fix what is flagged before you move on.

    The Review page with the keeper preview and problems list
  6. 6.Edit the cut

    The editor lets you order shots on a timeline, trim them, and save revisions. The status line tells you when the session is saved.

    The episode editor with its timeline
  7. 7.Ship it

    Back on Review, the Finish steps list what is left before release. Render, then publish one version as public or unlisted. Nothing is public until you publish it.

    The Finish steps on the Review page
Import a Writing Forge projectConnect Writing Forge with your API key, pick a project, and turn it into a Movie Studio production.

Before you start: A Writing Forge API key; A signed-in founder account.

  1. 1.Open Import from Writing Forge

    In Movie Studio, click Import from Writing Forge. A dialog opens.

    The Movie Studio page with the Import from Writing Forge button
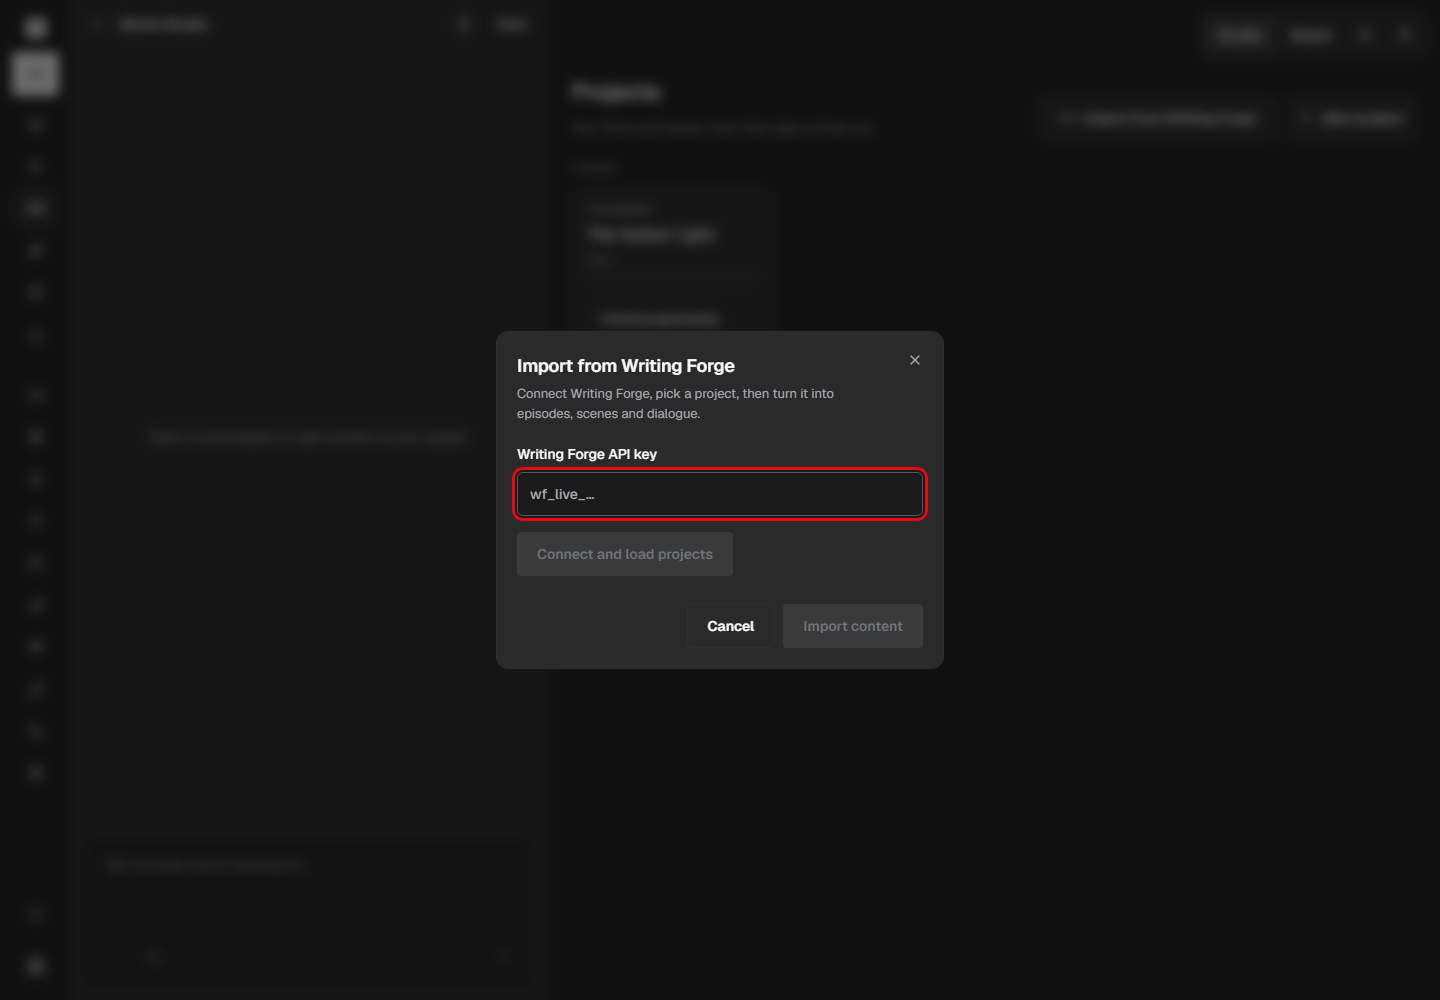
  2. 2.Connect with your API key

    Paste your Writing Forge API key and click Connect and load projects. The key is never shown on screen and is not stored in the page.

    The Import from Writing Forge dialog asking for an API key
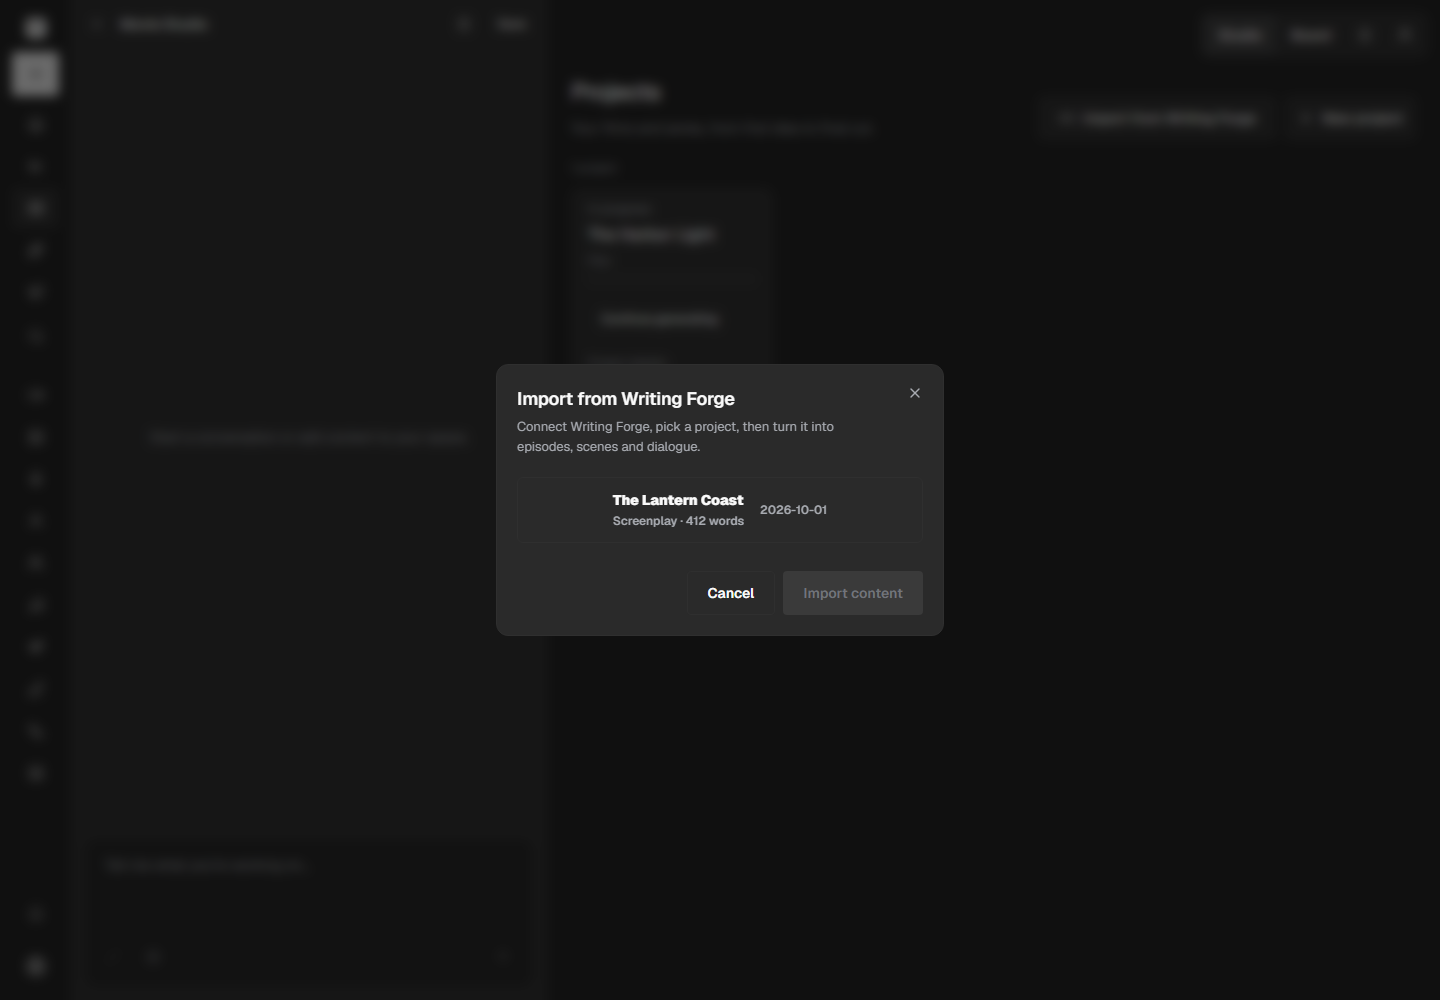
  3. 3.Choose a project

    Your Writing Forge projects appear as a list. Click one, then click Import content.

    The dialog listing Writing Forge projects with one selected
  4. 4.Review and create

    New Production opens with the script file already chosen and the title filled in. Check the episode count, then click Create and import. The story drafts build on their own.

    New Production prefilled from the Writing Forge project
Adapt existing workTurn a screenplay or manuscript you already have into a series by importing it.

Before you start: A source file you have the rights to use; A signed-in founder account.

  1. 1.Choose Import existing work

    Open New Production and pick Import existing work. Choose your source files. Fountain, screenplay, and manuscript files all work.

    New Production with Import existing work selected and a file chosen
  2. 2.Create and import

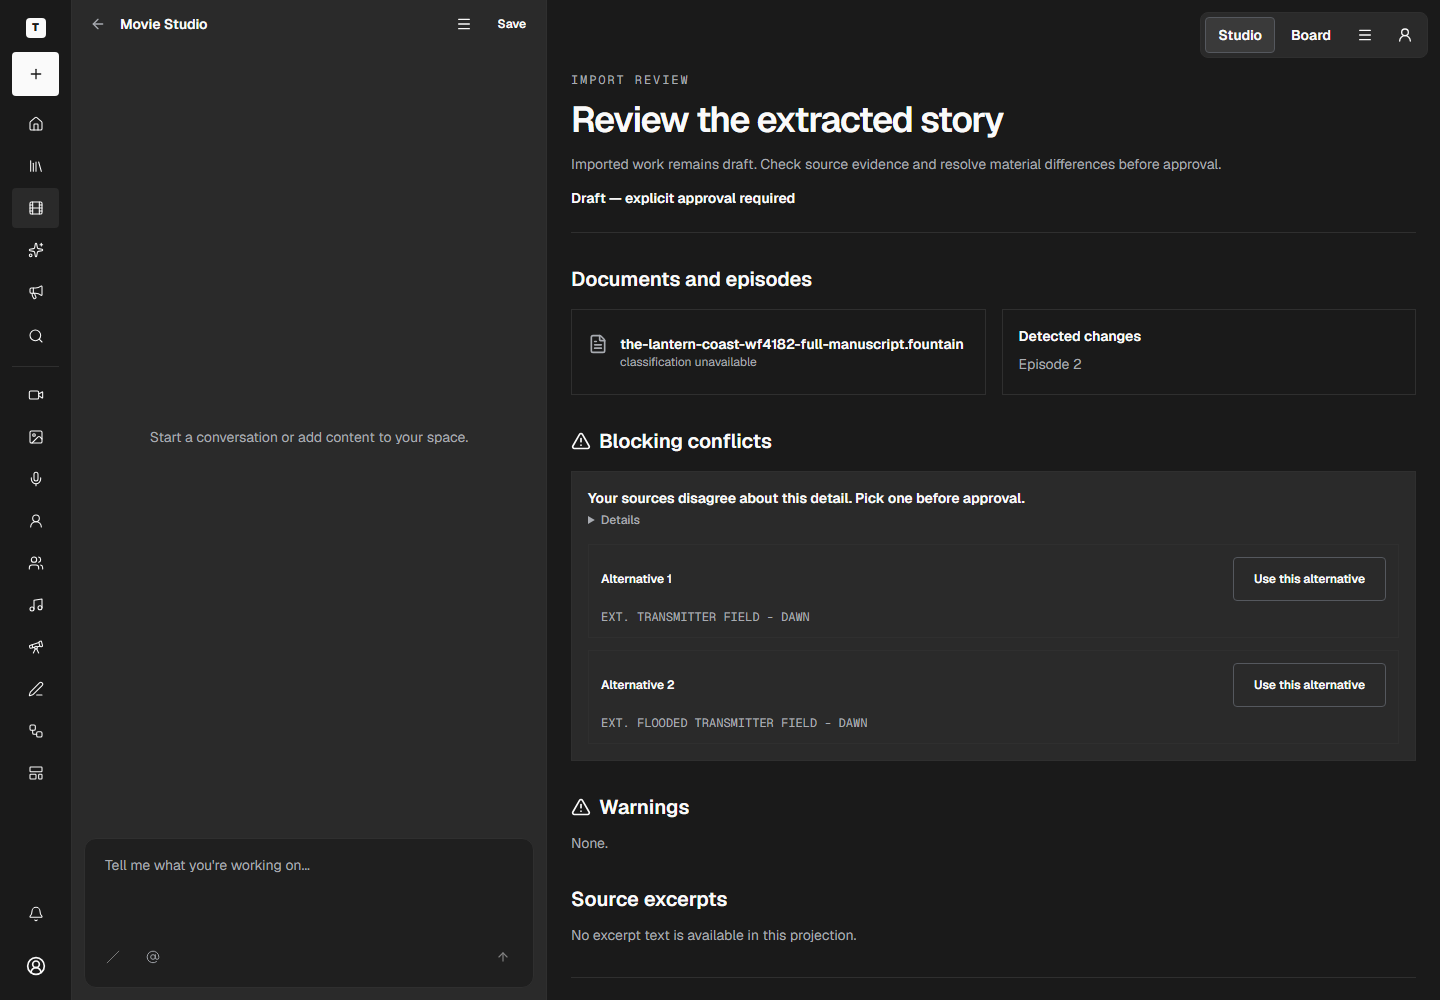
    Click Create and import. The platform reads the file, builds story drafts, and opens them for review.

    The Review the extracted story page after an import
  3. 3.Approve the foundation

    Go through Premise, Characters, World and look, and Episodes. Fix anything the import got wrong, then approve each stage. From here the Movie Studio guide takes over.

Import source materialUpload a rights-cleared manuscript or screenplay, review the project setup, and resolve import issues before approval.

Before you start: A rights-cleared source file; A signed-in founder account.

  1. 1.Upload a file you may use

    Import accepts manuscripts, screenplays, treatments, concepts, and adaptation packages that the workspace is permitted to use. Scanned image-only files cannot be parsed and must be transcribed first.

    New Production with a source file chosen for import
  2. 2.Review the project setup

    Check the suggested series title and episode count before creating the project. Setup suggestions are a starting point; choose the source files and episode scope that match your intended import.

  3. 3.Confirm before approval

    Read the saved import result, confirm source classification when requested, and resolve conflicts or blocking policy issues. Review the resulting story artifacts before approving a development stage.

Use the creator toolsMake a single image, video, music track, voice line, or AI actor clip, cut them together in the editor, and find everything in your library.

Before you start: A signed-in founder account.

  1. 1.Make an image

    Open Image. Type what you want to see, pick a model and an aspect ratio, and click Generate. Results appear on the right.

    The Image tool with a prompt and settings
  2. 2.Make a video

    Open Video. Describe the shot, choose a duration, and click Generate. Longer clips take longer to finish.

    The Video tool with a prompt and duration setting
  3. 3.Make music

    Open Music. Describe the mood, tempo, and instruments. Generate as many takes as you like.

    The Music tool with a prompt
  4. 4.Make a voice line

    Open Speech. Type the words, pick a voice, and generate. Use this for narration and dialogue.

    The Speech tool with text to convert
  5. 5.Make an AI actor clip

    Open AI actor. Choose a face image, write the line, and generate a talking clip.

    The AI actor tool
  6. 6.Cut it together

    Open Edit Video and start a new composition. Add clips from your library to the timeline, trim them, and export the video.

    The video editor with a clip on the timeline
  7. 7.Find it in your library

    Everything you make lands in Library. Open it to download, reuse, or delete your work.

    The Library page
Read generation statusFind a generation job, tell queued from running from failed, and learn what an unavailable submission state means.

Before you start: A signed-in founder account; A submitted generation request, or none to practice reading the list.

  1. 1.Find the job record

    Open Jobs, choose Generation with Filter by kind, and read each job's state. When a job shows Details, open it for the error message and job ID before deciding whether to retry.

    The Jobs page with its kind filter
  2. 2.Read the state honestly

    Queued means waiting, running means dispatched, failed means finished without usable output, and uncertain means the outcome could not be verified. A delayed job should not be duplicated just because the browser stopped waiting.

  3. 3.Understand unavailable submission

    When submission reports that generation is not enabled for the workspace, paid provider execution is disabled and no new provider job starts. Existing records stay readable and selections already made are unaffected.

Edit, review, and releaseMove selected material through the timeline, resolve review blockers, and publish one deliberate release version.

Before you start: Selected material from a generation or import; A signed-in founder account.

  1. 1.Arrange the cut

    Order selected shots on the timeline, trim timing, and save revisions. Locks and revision numbers keep two editing sessions from silently overwriting one another.

  2. 2.Clear the review gate

    Resolve comments, continuity notes, rights checks, and release blockers before approval. A successful render does not publish itself; publishing stays a deliberate founder action.

    The Review page with its problems and comments
  3. 3.Publish one version

    Render the approved timeline and publish a single release version as public or unlisted. Unpublished work does not enter the public catalog.

Review continuityCheck character, setting, prop, timing, and story continuity, and return the episode to editing when a problem remains.

Before you start: An assembled episode revision; A signed-in founder account.

  1. 1.Walk the episode in order

    Watch or read the episode from the first shot so mismatches surface in story order rather than as isolated frames.

    The Review page keeper preview
  2. 2.Name each mismatch

    Record wardrobe, proportion, prop, accessory-side, pattern, and geometry problems as separate notes attached to the moment and revision where they appear.

  3. 3.Send back or approve

    Approval is not automatic. Return the episode to editing when any mismatch remains, save another revision, and review again before release.

Recover a stalled jobDistinguish a delayed job from a failed one, use the saved job state after a refresh, and retry only when permitted.

Before you start: A signed-in founder account; The job ID or error details from the stalled request.

  1. 1.Reload and read the saved state

    Generation and render work uses durable job records, so a page refresh does not erase queued, running, completed, failed, or cancelled state. Read the saved result before starting replacement work.

    The Jobs page after a reload
  2. 2.Retry only failed or cancelled work

    Retry is available only for failed or cancelled jobs that remain under the retry limit. A running job that looks slow is still the same job.

  3. 3.Ask the platform when stuck

    When a job stays uncertain across reloads, check service status for Studio API reachability before retrying. That status does not prove media delivery is healthy.

    The service status page